<
Using REST Export With Views In Drupal 8
Neerav Mehta
Founder & CEO
In a recent project, I had the opportunity to explore the world of REST web services with Drupal 7. It was a really good experience. I used a couple of modules such as "Services" and "Services Views". It took quite some time to configure the settings and end points to get it in views display.
I am glad to say that REST Export is easier to use with Views in Drupal 8. This is because modules such as "RESTful Web Services" and "Serialization" come under a package called "WEB SERVICES" in Drupal 8 core (Views module comes integrated with Drupal 8 core).
In this article, I will demonstrate how to use REST Export with Views in Drupal 8. We are going to export the "Article" Content type through REST Export within views in Drupal 8. To achieve this, make sure you have content with the Article content type.
1. Install/Enable the modules
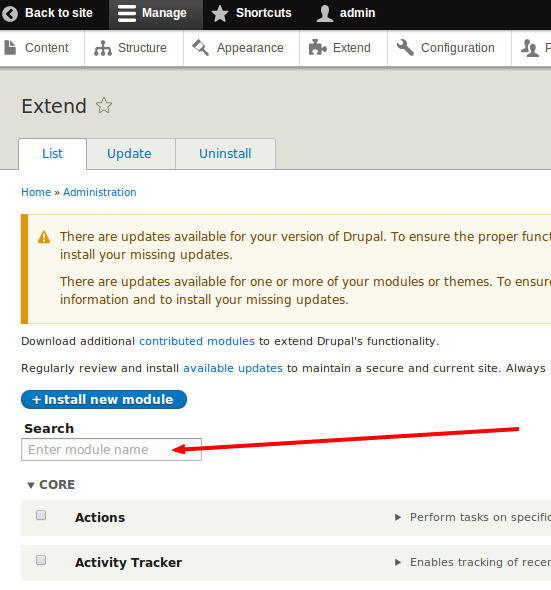
Click "Manage" in the administration menu bar and click "Extend".
Once you are on the Modules page, search for "RESTful Web Services" and "Serialization". Enable both these modules.

2. Create the REST EXPORT views
Once the module installation is done, click "Structure" on the administration menu:

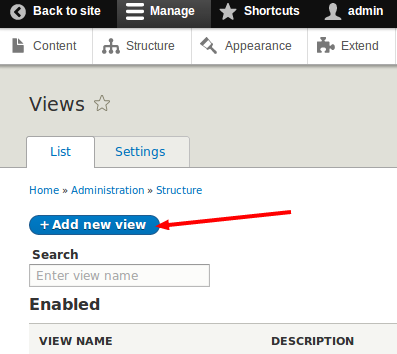
Then click "Views":

Click "Add new view":
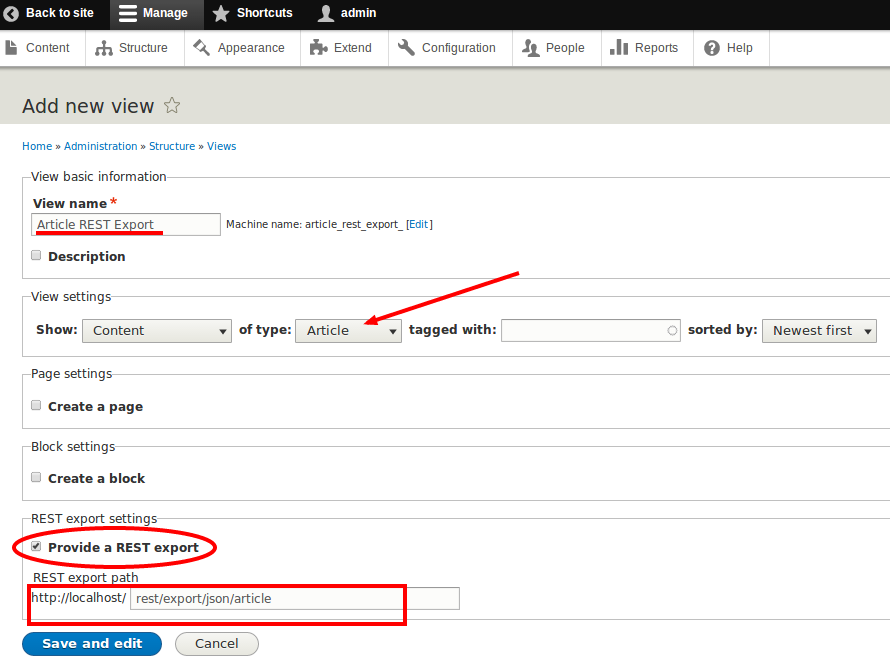
Fill in the form as shown in the screenshot below. I have given the view name as "Article REST Export". Choose "Article" as the content type from the dropdown. Tick the box against "Provide a REST export" under "REST export settings".
Now you have to provide a link under "REST export path". This link is the end point from where you want to fetch the data. Here, in our example, we are going to create the path "rest-export-views-drupal-8/export/json/article".
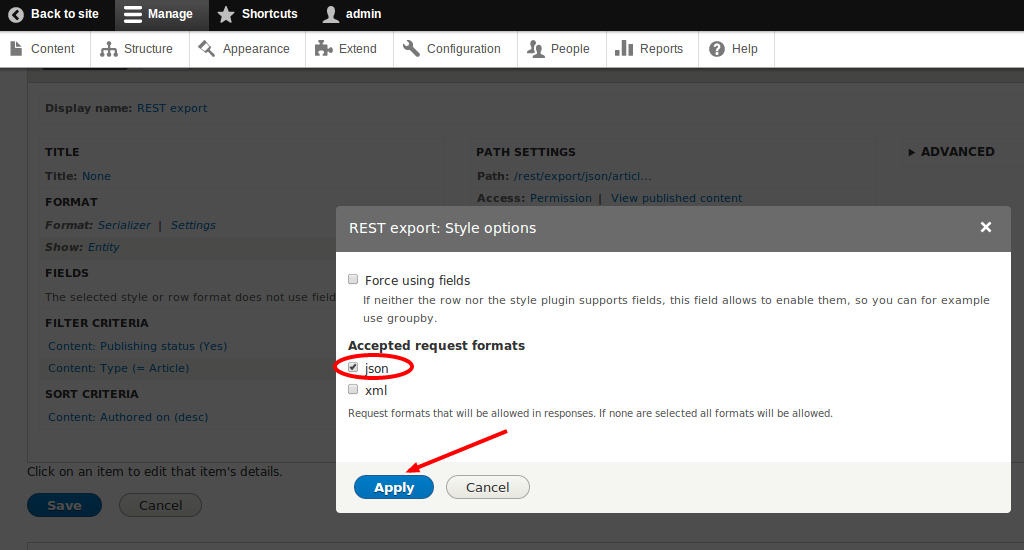
Click "Save and edit" and you will see the following page.Click "Settings" next to "Format:Serializer". You will get the option to choose the format of output data at the given end point "rest-export-views-drupal-8/export/json/article".
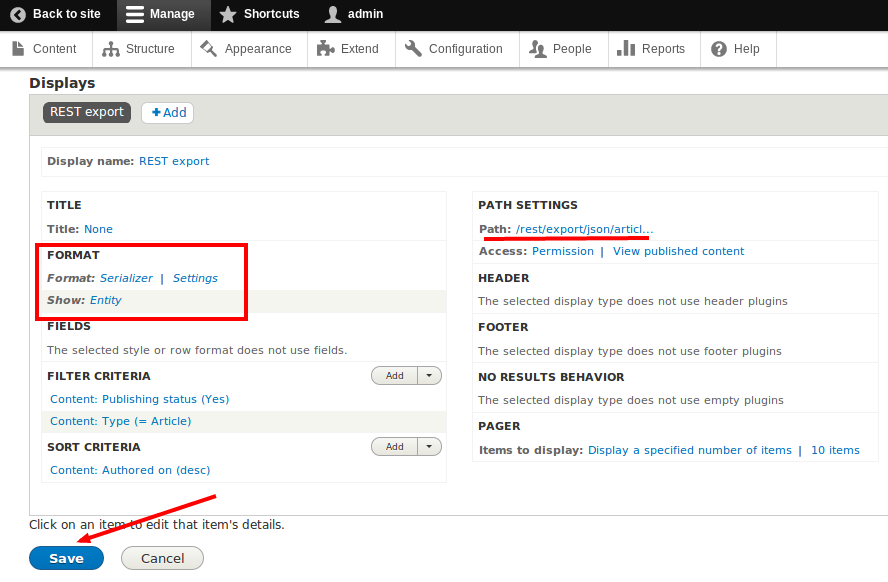
Tick the box against “json” since the data will be in json format. Click “Apply”. Finally, save the view by clicking the "Save" button.
Once you saved the view, you can test the end point using any REST client. Here, we are using "Advanced REST client", an extension of Google Chrome browser. For installing this, type in "https://chrome.google.com/webstore/category/apps" in your Google Chrome browser. Search for "rest client" as shown in the image below. You will find "Advanced REST client". Click "FREE" to install the application.

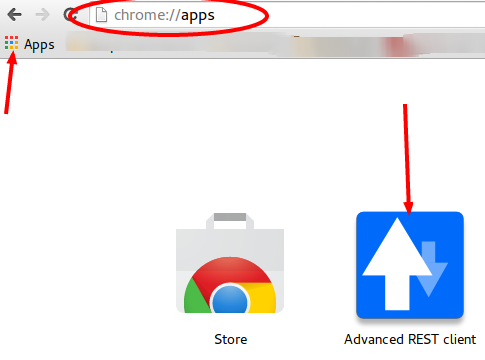
After installing the rest client, go to the path "chrome://apps/" on your Google Chrome browser or click the "Apps" icon on the bookmarks bar of your Google-Chrome browser. Then select the "Advanced REST client" application.
In "Advanced REST client", we need to provide the path of the end point. Here our path is “http://localhost/rest-export-views-drupal-8/export/json/article”. Select "GET" and click "Send" as shown in the following picture.

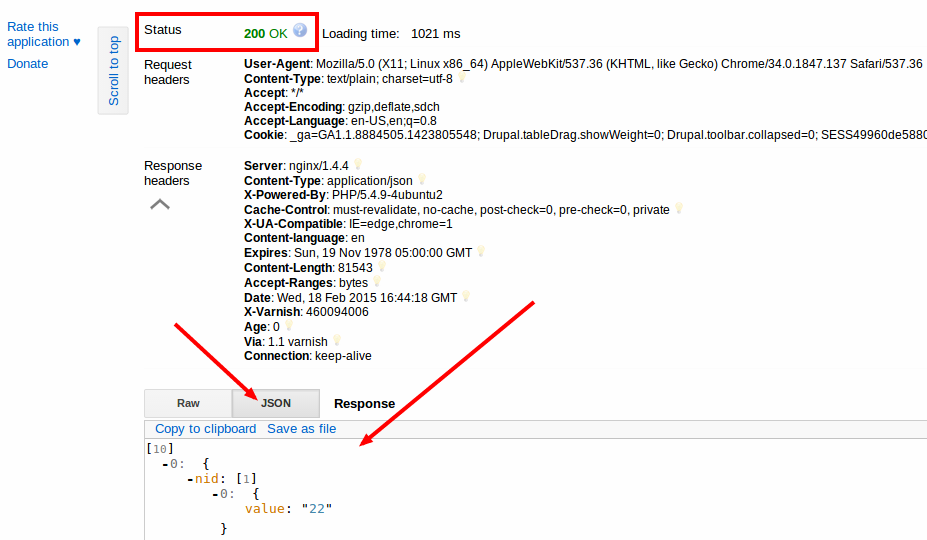
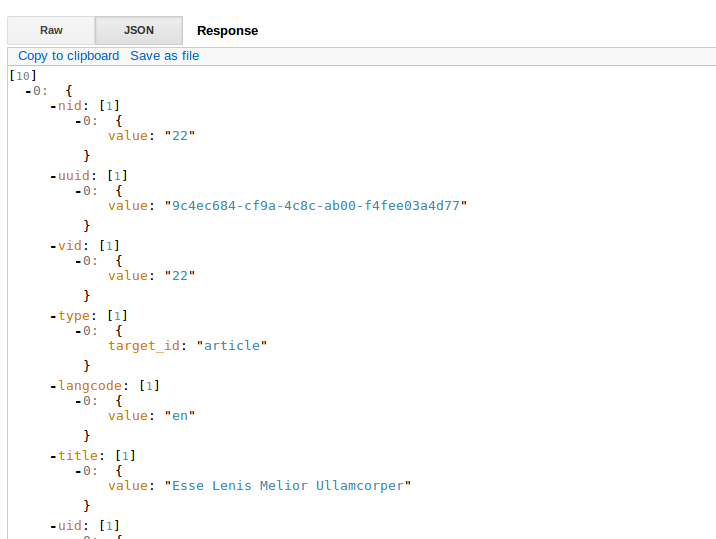
After you send the request, you will get a response "Status Code: 200 - OK", which is a standard response for successful HTTP requests. This is how the successful response looks:
Let’s get you started!


