<
Working with the Drupal Calendar Module.
Neerav Mehta
Founder & CEO
In this article, we will create a basic view to display a Drupal calendar with events.
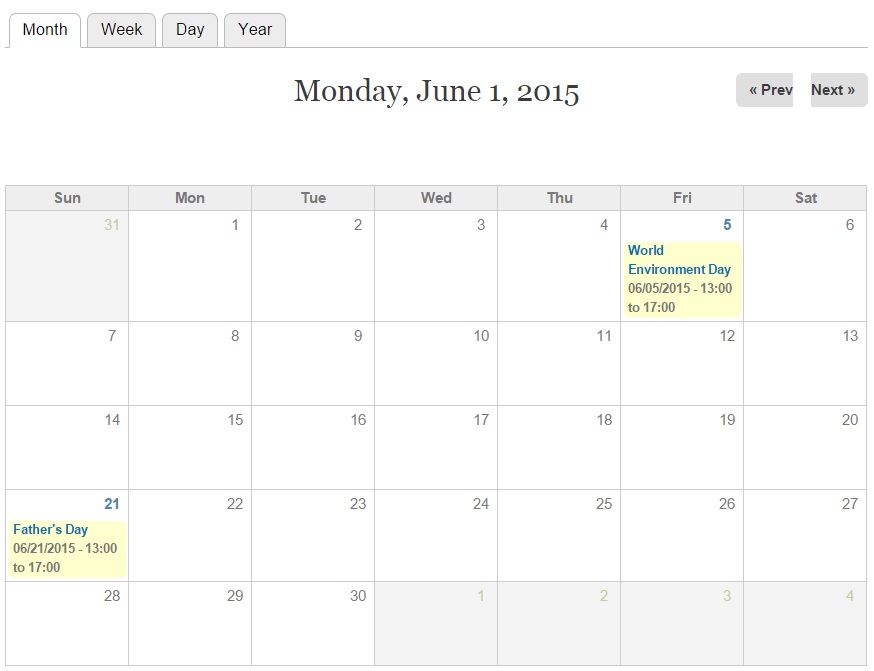
By the end of this article, you will be able to configure a basic Drupal event calendar for your website that looks like this:
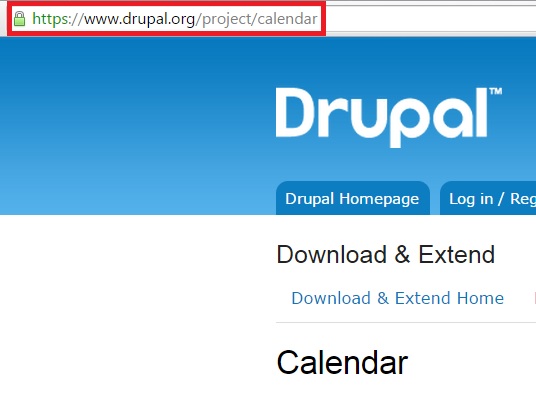
In order to get started, I want you to download and unzip the following modules to your Modules folder:
1.Drupal Calendar Module (drupal.org/project/calendar)
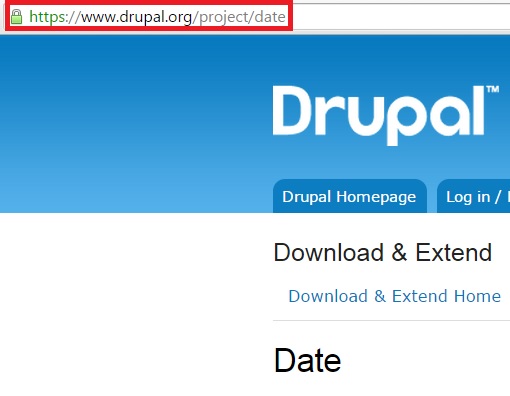
2.Drupal Date Module (drupal.org/project/date)
Enable the modules after you are done with the downloads.
Click “Modules” on the top-level menu:

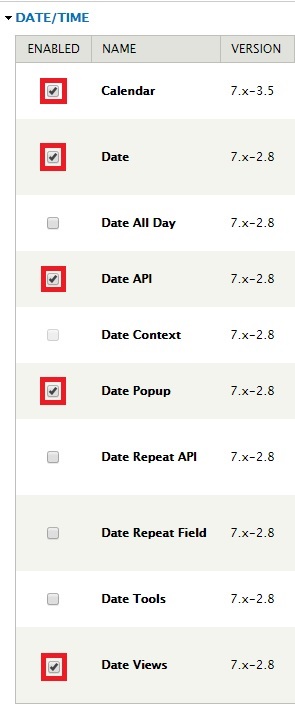
Search and enable the following modules:
- Calendar
- Date
- Date API
- Date Popup
- Date View
We assume you already have Views module downloaded and enabled.
Let’s now create a new content type to feature the events. I will be creating two events for June – World Environment Day and Father’s Day.
Click “Structure”:
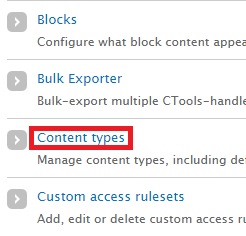
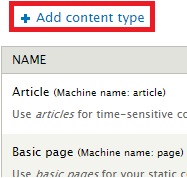
Click “Add content type”:
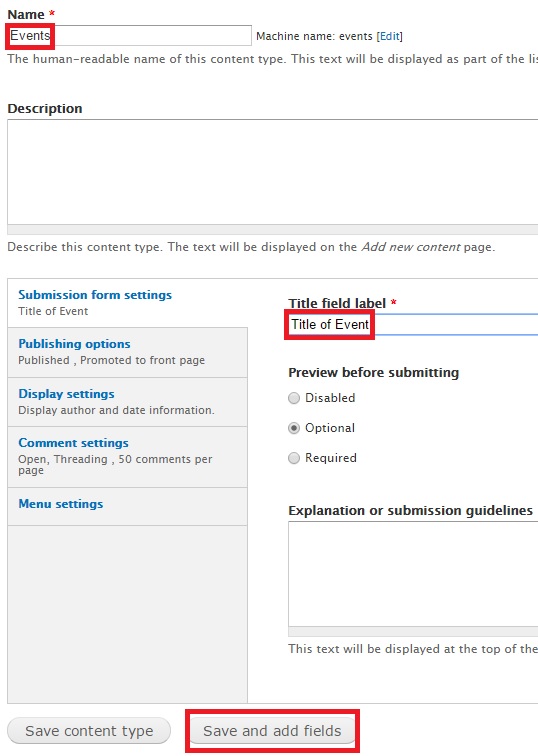
I am adding the new content type as “Events”. I have given “Title of Event” as the label. Click “Save and add fields”. View the screenshot below for more info:
Under Add new field, I have provided the value “Date of Event”. Under FIELD TYPE, I chose "Date" from the dropdrown. The WIDGET field gets automatically updated with the value “Pop-up calendar”. Click “Save”:

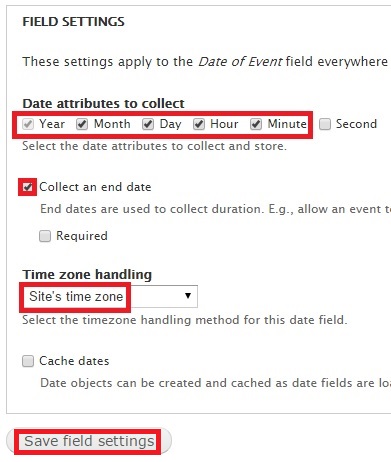
The next screen that comes up is the FIELD SETTINGS screen. Here are the important fields you will come across:
- Date attributes to collect: It lets you choose the attributes you want highlighted in the Date field. I have kept the values as default.
- Collect an end date: It allows you to provide an end date for an event. I ticked the box.
- Time zone handling: Provide your time zone. I have gone with the default “Site’s time zone”.
Click “Save field settings”:
You won’t have to do anything in the new screen. Enter content for Help text if you wish to:
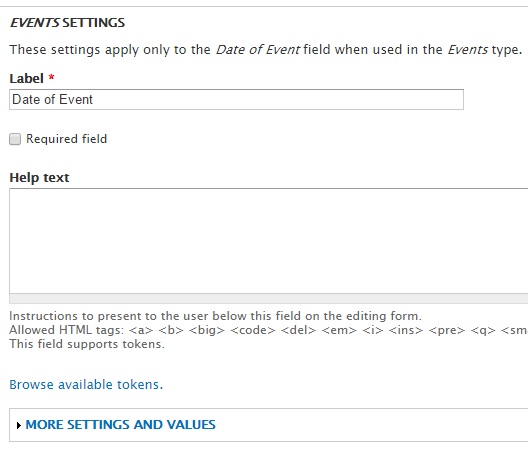
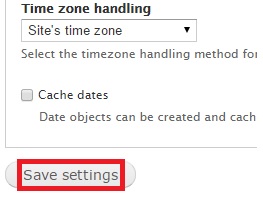
Scroll further below and click “Save settings”:
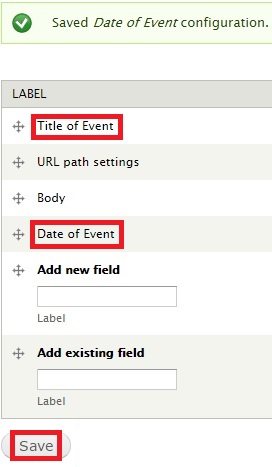
Notice the newly created “Title of Event” and “Date of Event”. Click “Save”:
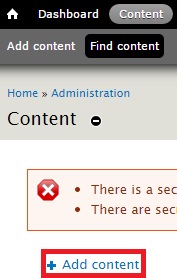
Let’s now create the Events! Click "Content" on the top-level menu:

Click “Add content”:
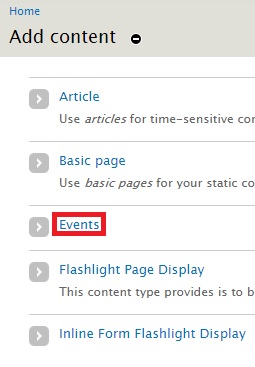
Click “Events”:
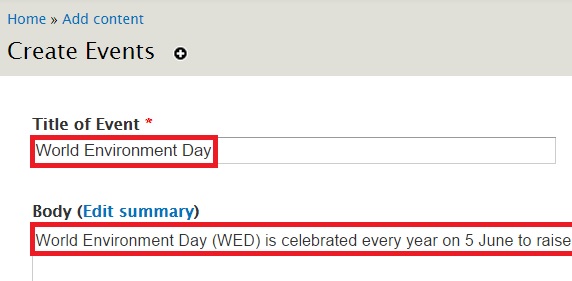
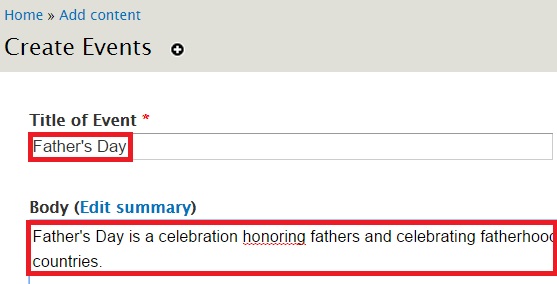
In the new page, provide the title and details about your event. I have pasted from Wikipedia for this page:
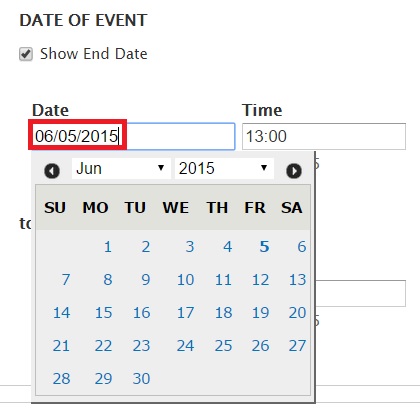
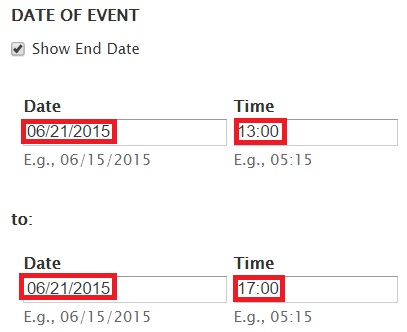
Scroll below and you will be asked to fill in the timings for the event by using a pop-up calendar:
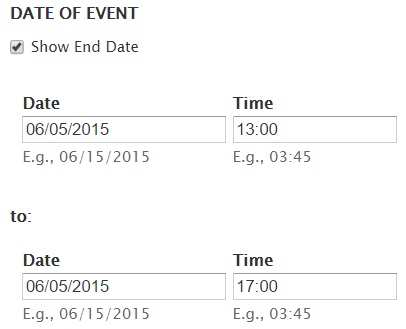
This is how the timings for the event looks like after details have been filled:
Click “Save” at the bottom of the page:

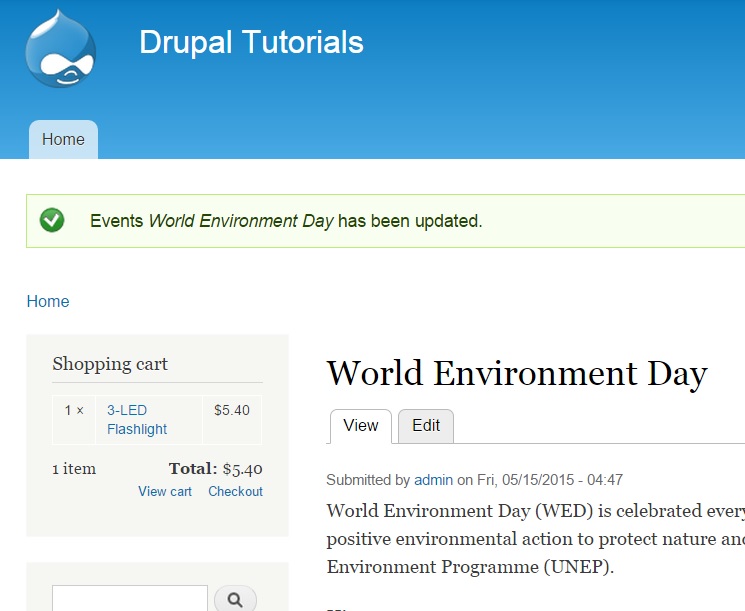
Your event for World Environment Day has been created:
Let’s create one more event:
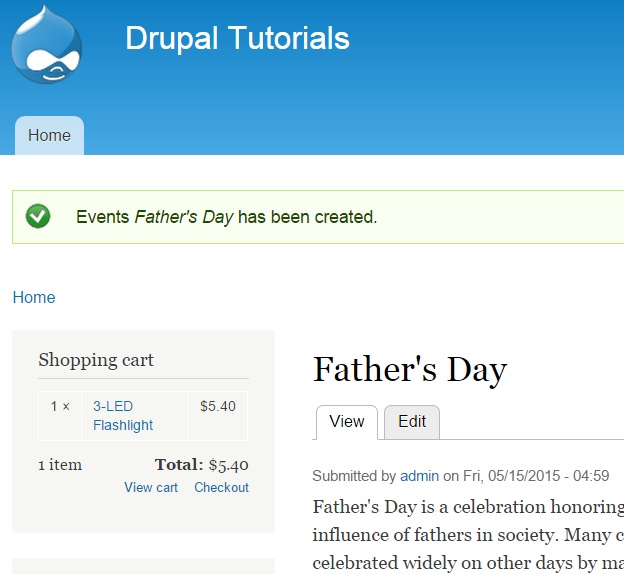
Click “Save” and the page for Father’s Day shows up:
Let’s now configure the calendar to show these events. We can do this by creating a View that highlights the calendar.
Click “Structure”:

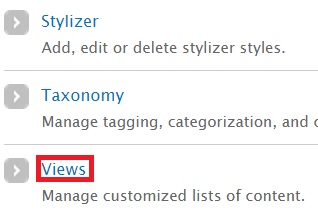
Click “Views”:
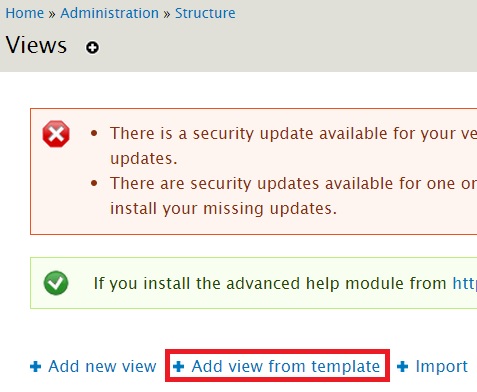
Click “Add view from template” to completely personalize your view:
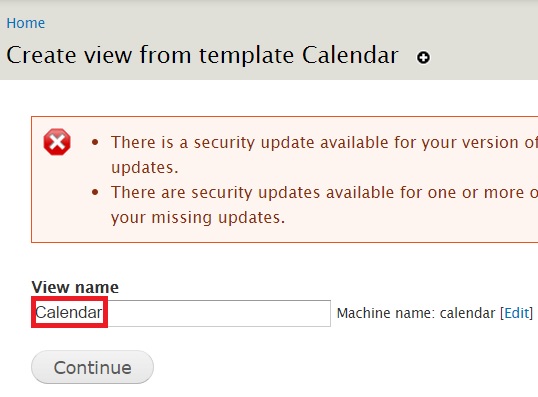
You will be allowed to select a template based on a pre-configured value. In this case, Date.
In the new screen search for the newly created field created above – Date of event. Click “Add on the extreme right. Refer the screenshot below:

Click “Continue” to go to the next screen:
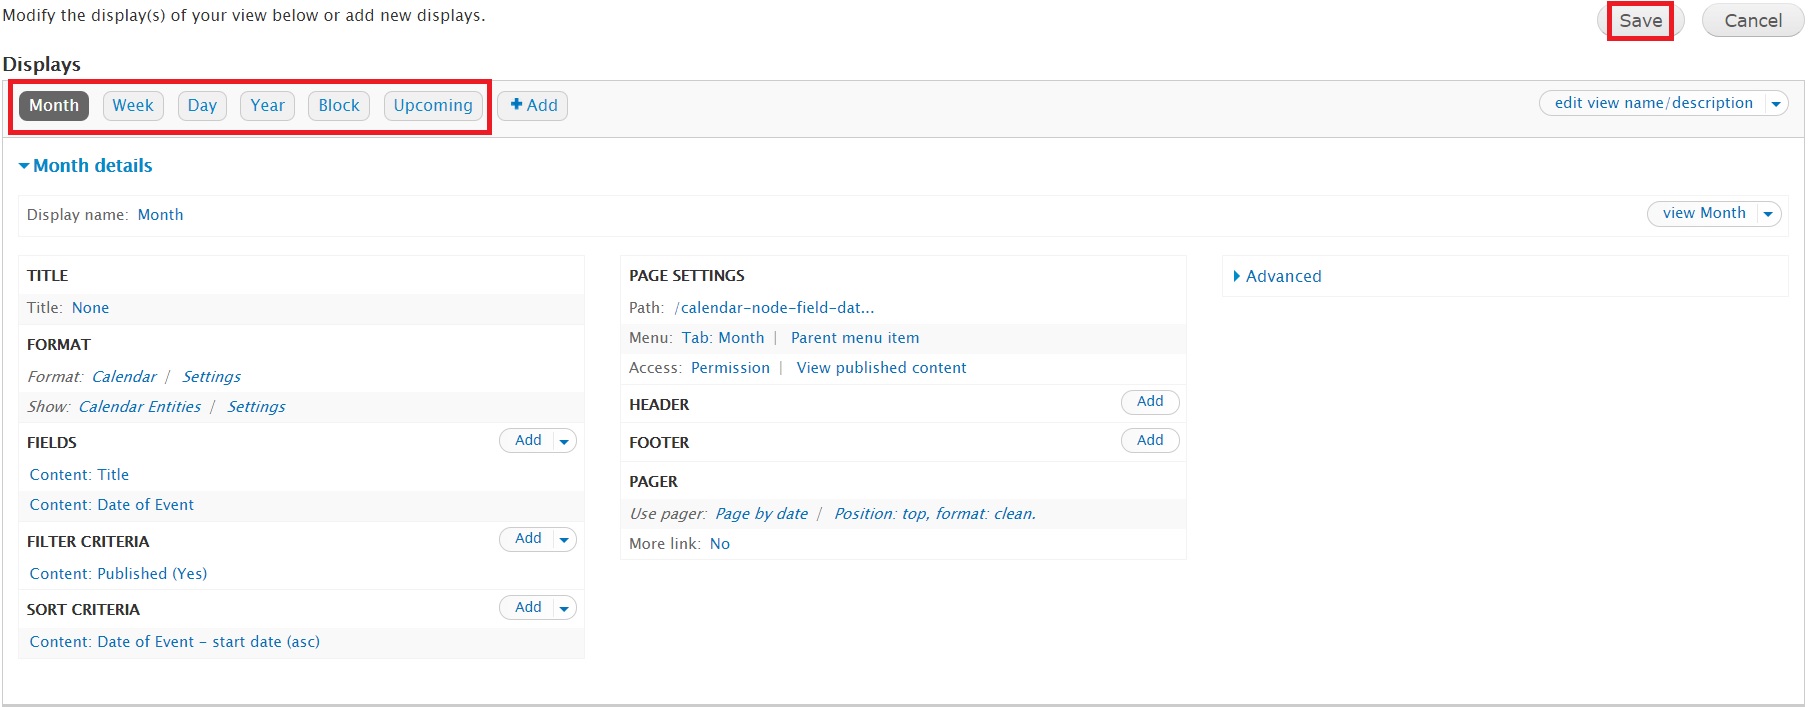
You will be taken to the following screen. It features basic configuration for your calendar. On the top-left, you will find several buttons – Month (default), Week, Day, Year, Block and Upcoming. Clicking them will take you to similar screens. I want you to click “Save” on the top-right:
Click “View Month” as shown below:

You will now be able to see the calendar with the events featured. Clicking on any event will take you to its respective page:
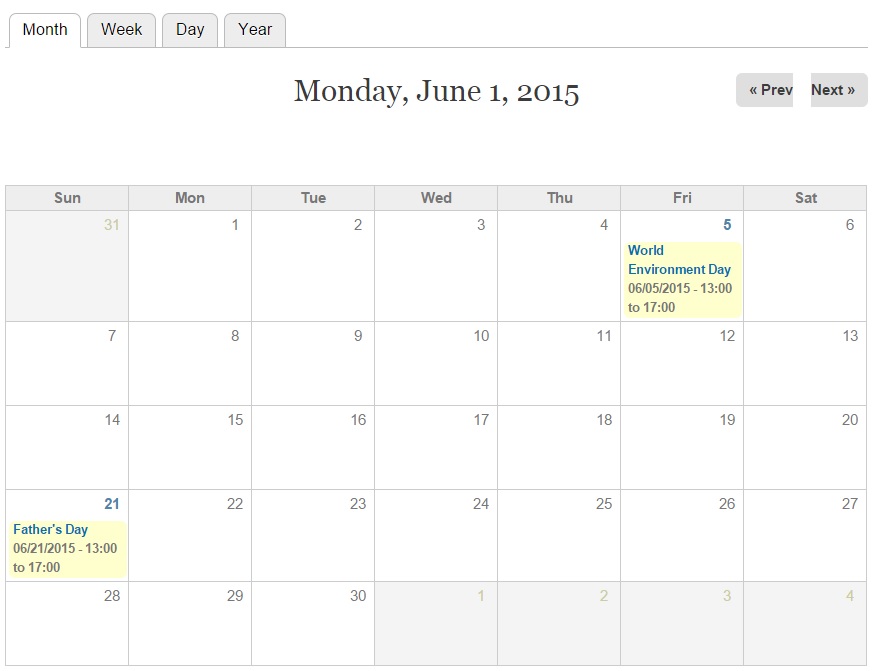
We have now completed the basic configuration to enable a Calendar view with events.

Neerav Mehta
Founder & CEO
Neerav Mehta is the Founder & CEO of Red Crackle. With sterling qualities, Neerav’s technological acumen is firing a generation of progressive companies on the digital path. With an undergraduate degree in Electrical Engineering from India's most prestigious institution IIT Bombay and having spent seven years developing and contributing to the launch of AMD's innovative line of computer products, Neerav founded Red Crackle where he is lauded for his dynamic and innovative genius.
Let’s get you started!


