<
Working With The Drupal Google Analytics Module
Neerav Mehta
Founder & CEO
Google Analytics is the world's most popular tool to gain quality online insights. Drupal offers a module to leverage its potential to the fullest. In this article, we will help you configure the Drupal Google Analytics module.
The biggest advantage this module offers is that you don’t have to copy the tracking code to each page you wish to track. Pasting the Tracking ID in the module’s configuration page will be enough.
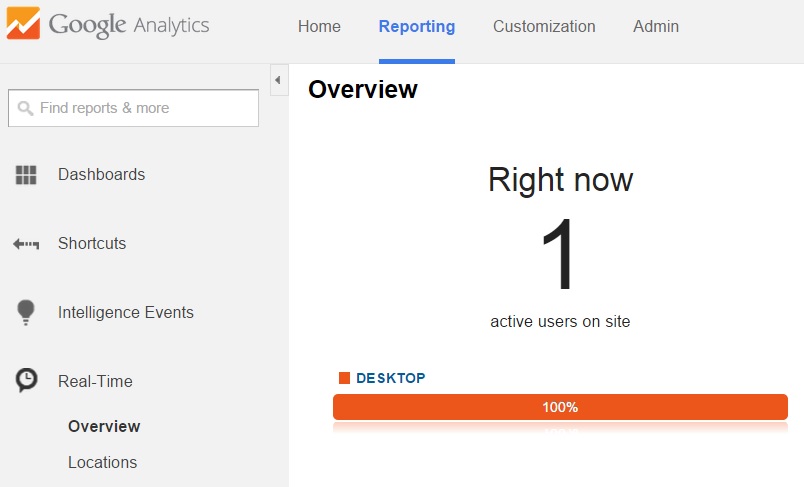
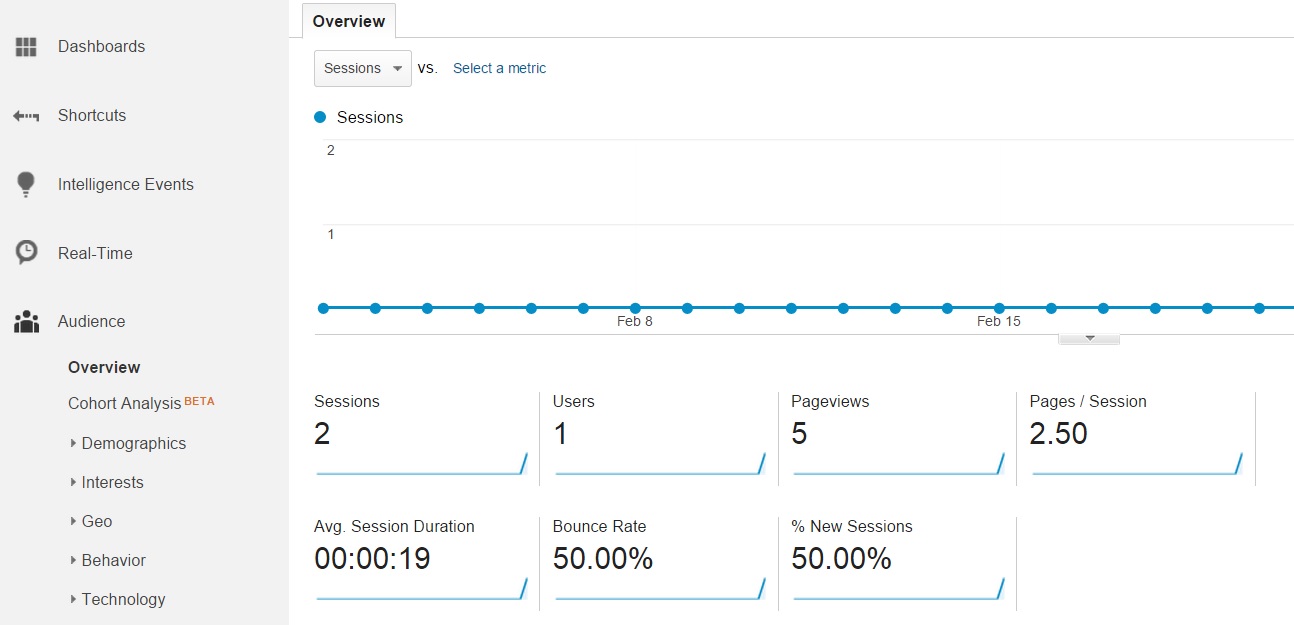
The 2 screenshots below showcase the kind of data you can access once you are done aligning your Drupal site with Google Analytics. While the first screenshot showcases real-time data (traffic on your site at the moment), the second one highlights data for a particular time period.
This article will help you configure Drupal Google Analytics to take you through such insights for your brand. We will be performing this on Drupal 7. So let’s get started!
Creating a Google Analytics account and copying the Tracking ID
- Go to www.google.com/analytics. Click Access Google Analytics on the top-right.

-
Sign up for a Google Analytics account.
-
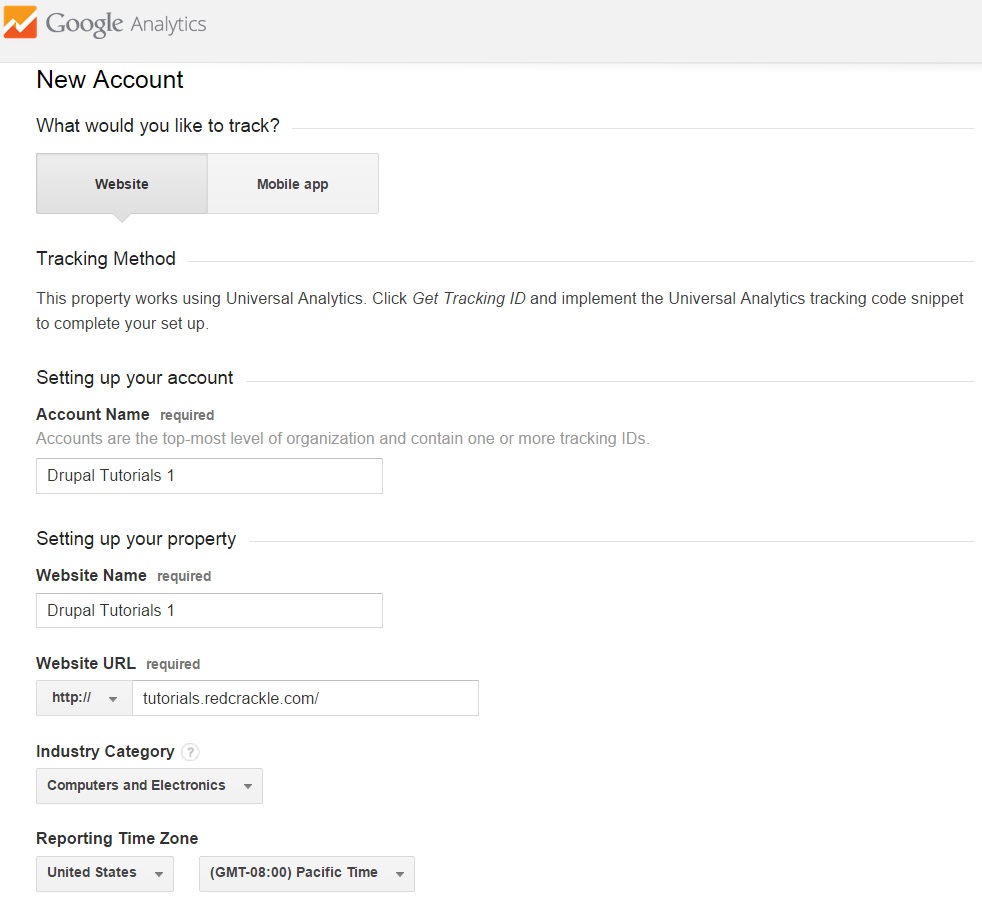
On successful sign-up, you will be taken to a page that allows you to create a new account.
You will have to enter data for the following fields:
- Account Name: Type your company's name here.
- Website Name: You can either type in your website's URL (for example, mywebsite.com) or give it in plain words (MyWebsite). It can be provided the same value as Account Name.
- Website URL: Type the URL of the website for which you seek to enable tracking.
- Industry Category: Choose the industry that best suits your company.
- Reporting Time Zone: Select your time zone.
- Data Sharing Settings: These check boxes are already ticked by default. You can leave them as is. Refer the screenshot below for more details:
- Click Get Tracking ID at the bottom of the page.

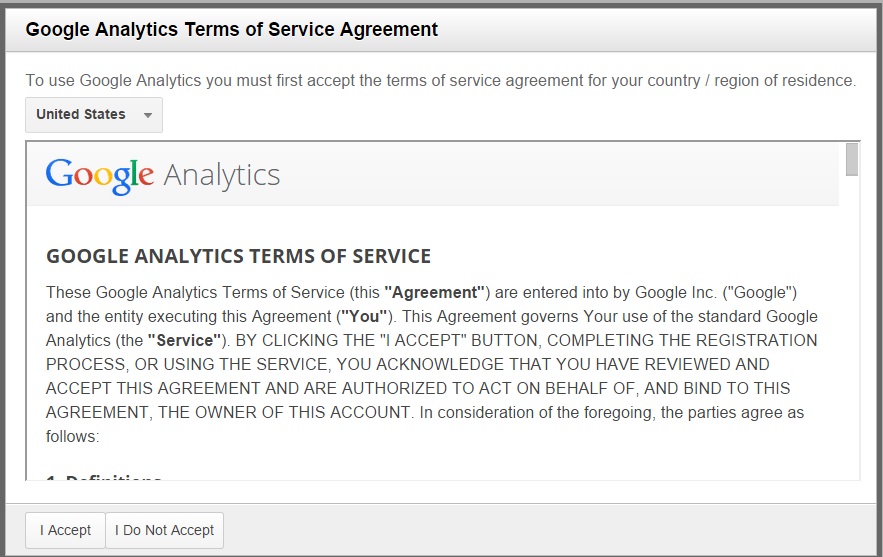
- A pop-up with Google Analytics’ Terms of Service appears. Click I Accept.
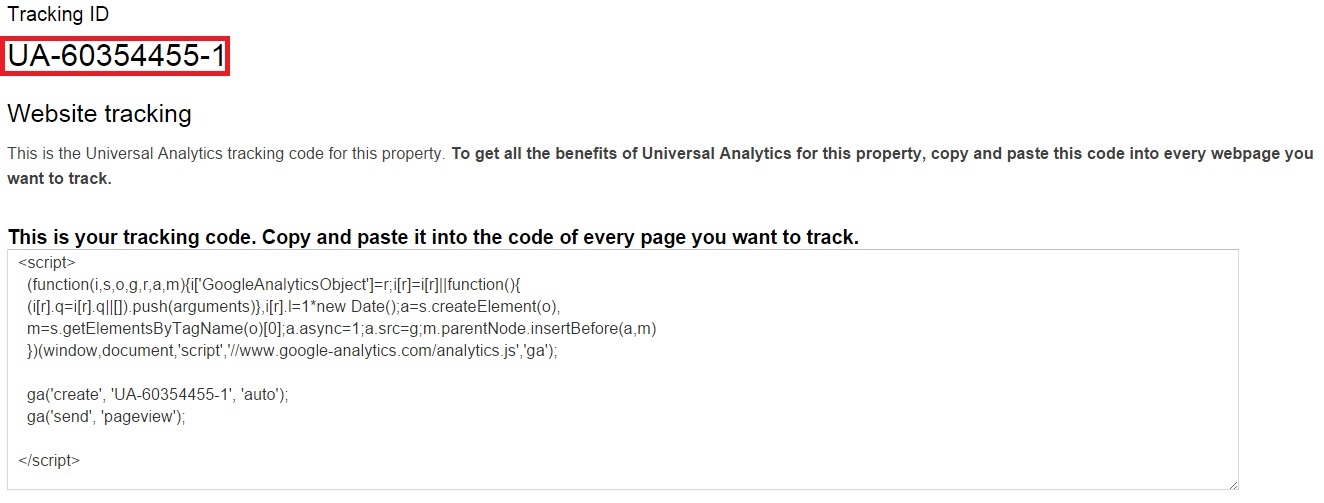
- The new page will feature the Tracking ID. Copy this to a secure location. You will need it while configuring the Google Analytics module.
Installing and configuring the Google Analytics module
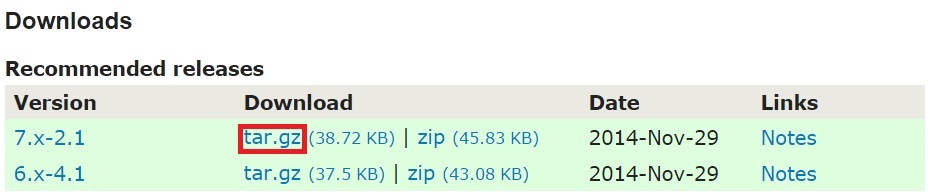
- Visit here to download and unzip the latest tar.gz file to your modules folder.
- Go to your Drupal site. Click Modules at the top-level menu.

- Search for the module. A quick search will reveal it under STATISTICS. Tick the box against Google Analytics:

- Click Save Configuration.
Search for Google Analytics again and click Configure.

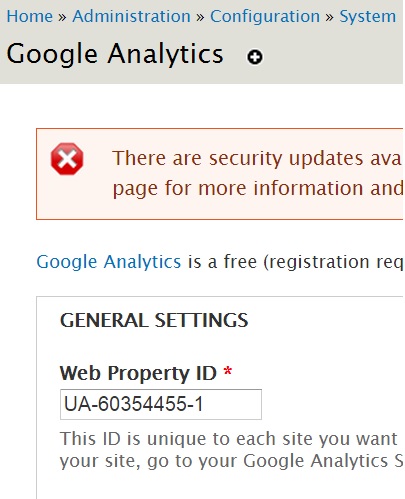
- In the new page, paste the Property ID in the Web Property ID box under General Settings:
Clicking Save configuration will get you started with default settings. This is enough to drive basic SEO analytics for your website.
-
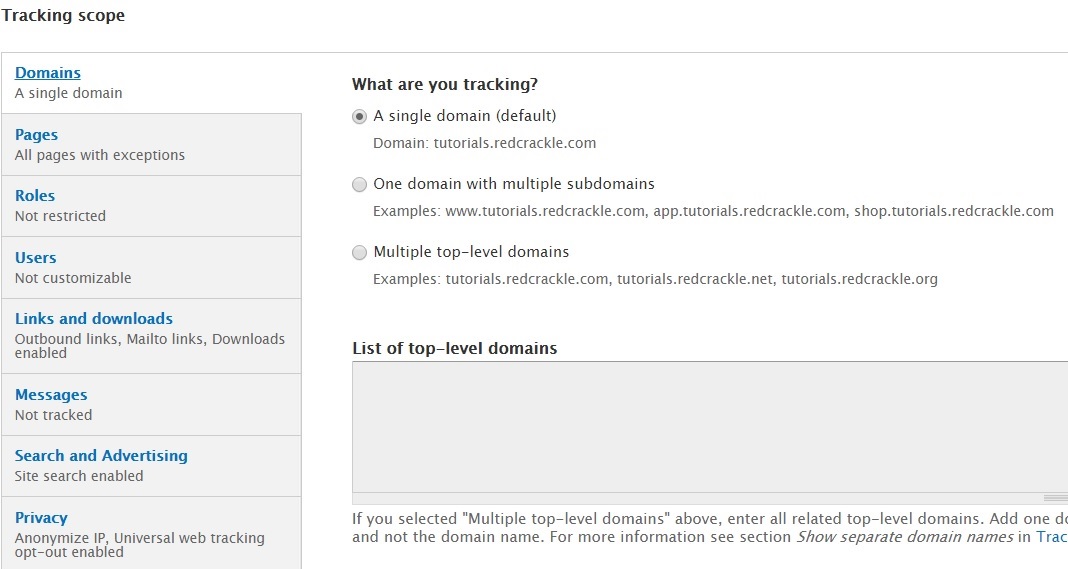
You will be able to configure further under Tracking scope. I have left most of these settings as they are:
- Domains: Specify whether you want to track a single site, multiple sub-domains or multiple top-level domains.
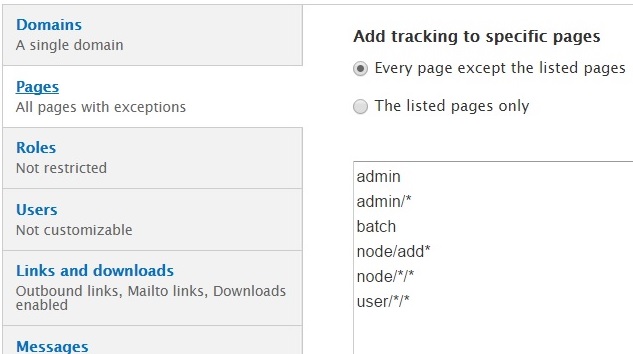
- Pages: This setting allows you to select the pages you intend to track or not track. You can provide values in the text below. By default, the module already lists a set of values (admin, admin/*, etc.). Alter them only if you need to.
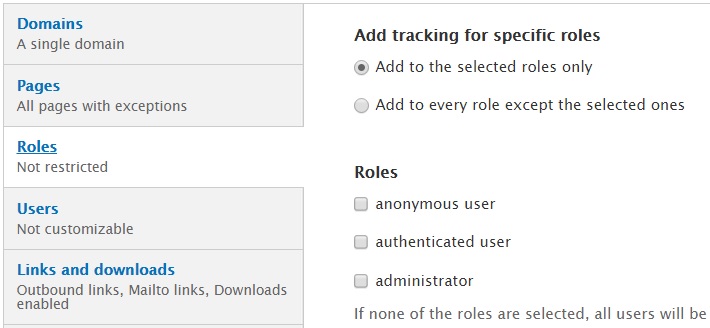
- Roles: All user roles defined for your site appear here. Tick the boxes of roles you wish to track. It’s ideal not to tick every box because you will end up with a lot of muddled data. Use this option wisely or ignore!
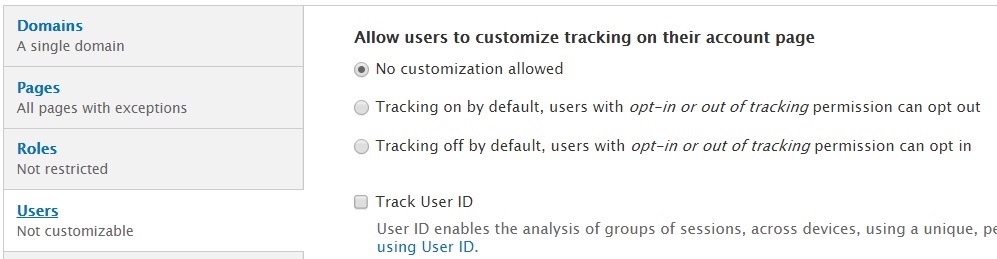
- Users: "No customization allowed" will enforce your choice of tracking for users. Choose any of the other options if you have given users the opportunity to use the “Opt-in or out of tracking” permission. This gives users the freedom to decide whether they should be tracked on your site or not.
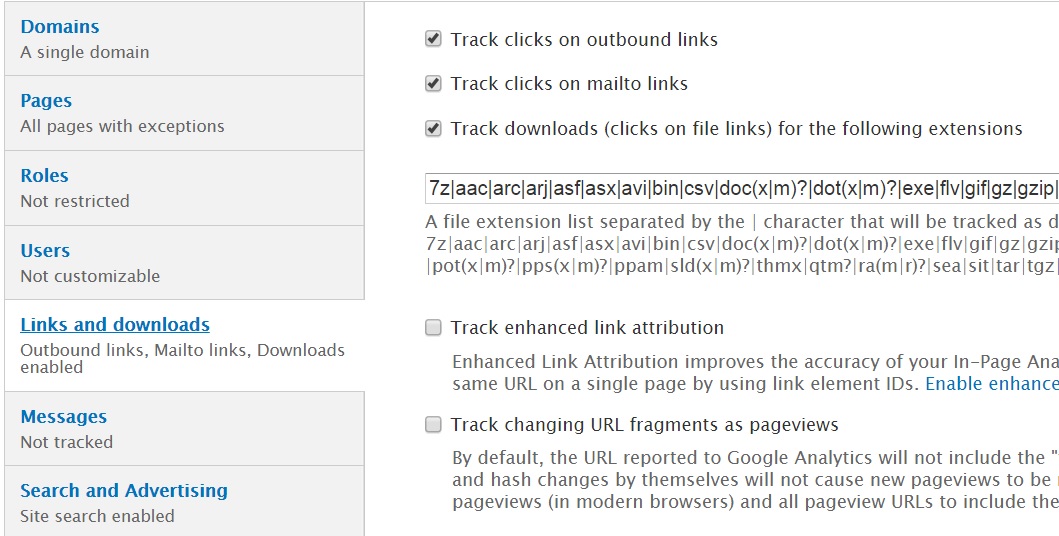
- Links and downloads: This is where you specify the links and downloads you wish to track. The text box lists the file extensions you wish to track.
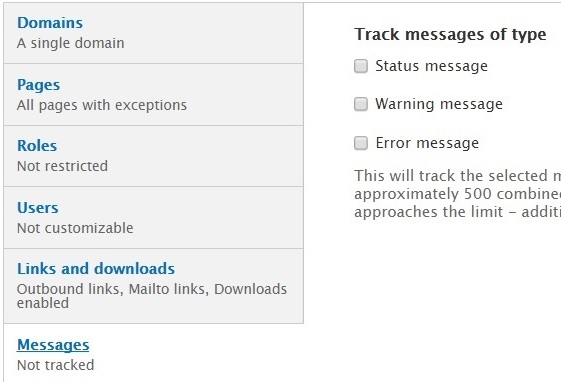
- Messages: Do you wish to track messages generated on your site? If yes, tick the boxes accordingly. I have left them alone.
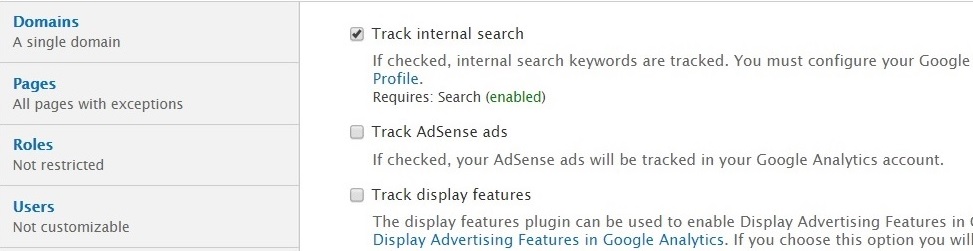
- Search and Advertising: I have ticked the box against Track internal search to monitor keywords being searched on my site. If you are using AdSense ads, then it will be wise to tick the second box.
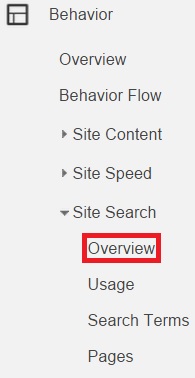
P.S.: After you configure Google Analytics, you can analyze the internal keywords used on your site by going to the following path: Behavior -> Site Search -> Overview. Refer the screenshot below:
- Privacy: Tick these boxes if you wish to hide the IP addresses of site visitors and if you wish to use the "Do not track" header.

- CUSTOM DIMENSIONS and CUSTOM METRICS
These sections are for those who have previously worked with dimensions and metrics. These are user-created values that help track statistics that are generally not monitored by Google Analytics.
- Configure Advanced Settings
Here is where you can set up the location to cache the data or add a custom javascript.
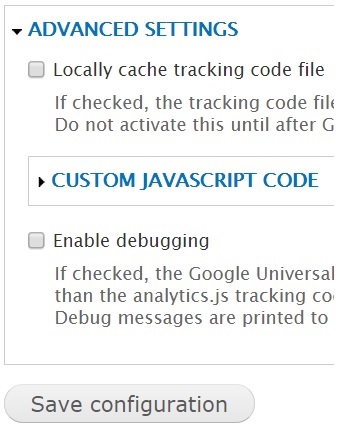
Click Save Configuration.
You have now successfully configured the module.
- Testing whether Google Analytics is operational
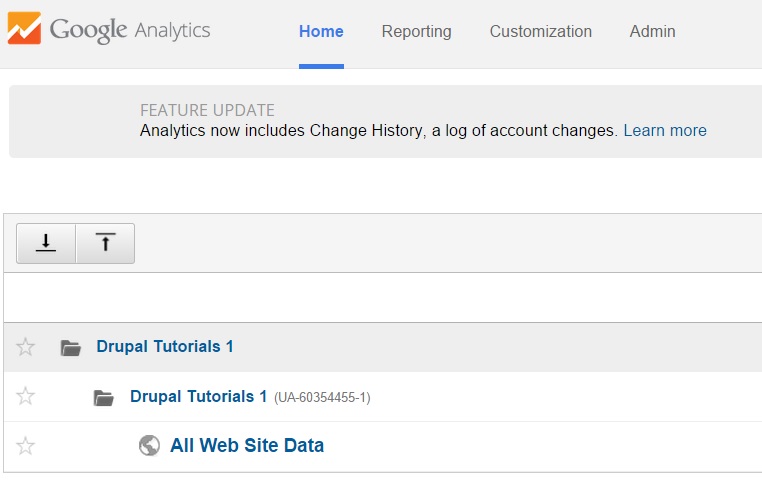
It may take a couple of hours or a day for Google Analytics to be set up for your site. After it is activated, you can log in to your account. Your homepage will be similar to the one below. Click All Web Site Data. You will be directed to the Google Analytics dashboard.
10. Accessing analytical data
The first thing you see on your dashboard is the site traffic for your site. You can select a time period for which you want view traffic. This option is available in the top-right corner:
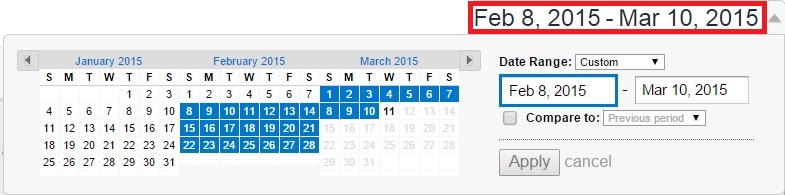
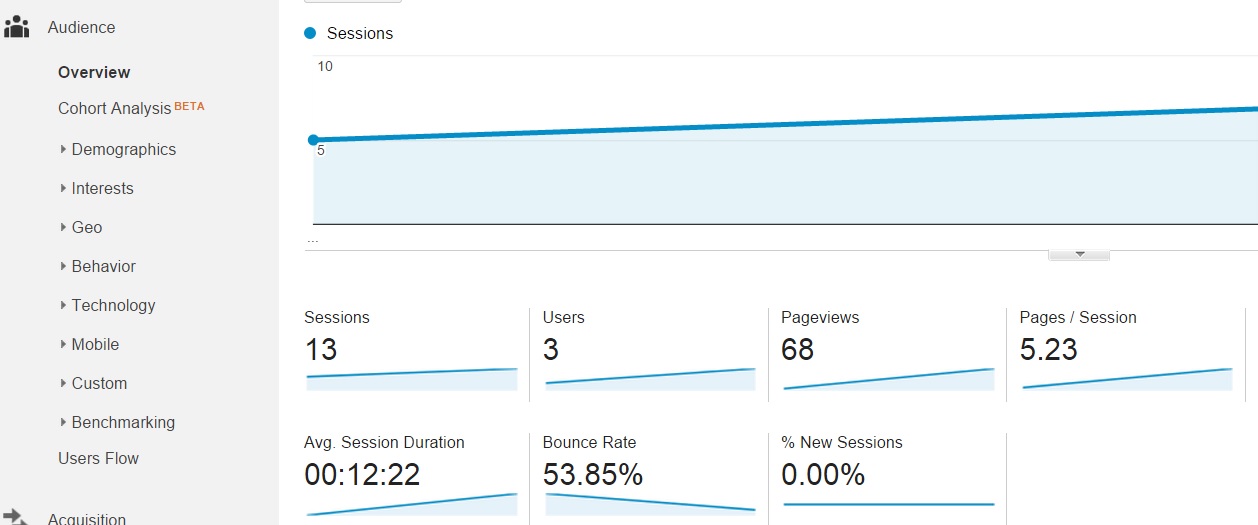
Specify a time period and you will be able to view corresponding traffic as shown in my screenshot below:
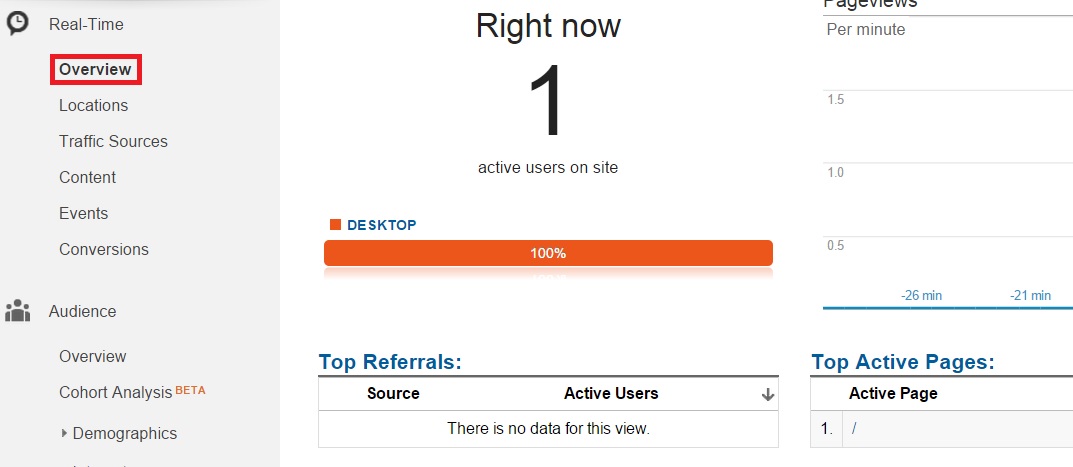
You can also view real-time traffic to understand the number of visitors on your site at this very moment. For this, you will have to adjust the time period to the current date:
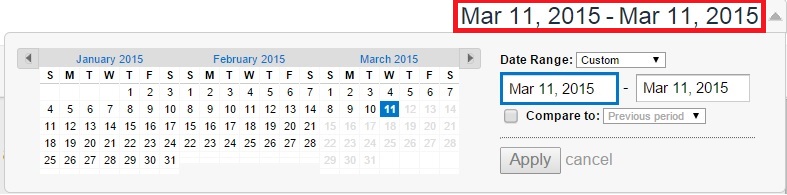
After this, follow the path Real-Time -> Overview to view the number of visitors active on your site at this very moment.
Note that my configuration was pretty basic. You could play around with the configuration in the Google Analytics module to arrive at more refined settings for your business.

Neerav Mehta
Founder & CEO
Neerav Mehta is the Founder & CEO of Red Crackle. With sterling qualities, Neerav’s technological acumen is firing a generation of progressive companies on the digital path. With an undergraduate degree in Electrical Engineering from India's most prestigious institution IIT Bombay and having spent seven years developing and contributing to the launch of AMD's innovative line of computer products, Neerav founded Red Crackle where he is lauded for his dynamic and innovative genius.


Let’s get you started!