<
Managing Inventory
Neerav Mehta
Founder & CEO
This is tutorial #4 in the Drupal Commerce tutorial. In the previous article, we showed you how to add fields and metadata to a product. If you haven't read it, please go and read it now, or get the free eBook on Drupal Commerce 101 from the right sidebar (below the content if you are viewing in mobile).
In this article, we will go through the basic steps required to set up inventory management on your site. You will learn how to manage the quantity of products in your store. For example, buyers on your store will be advised to reduce the quantity of a certain product in his cart if you run out of stock.
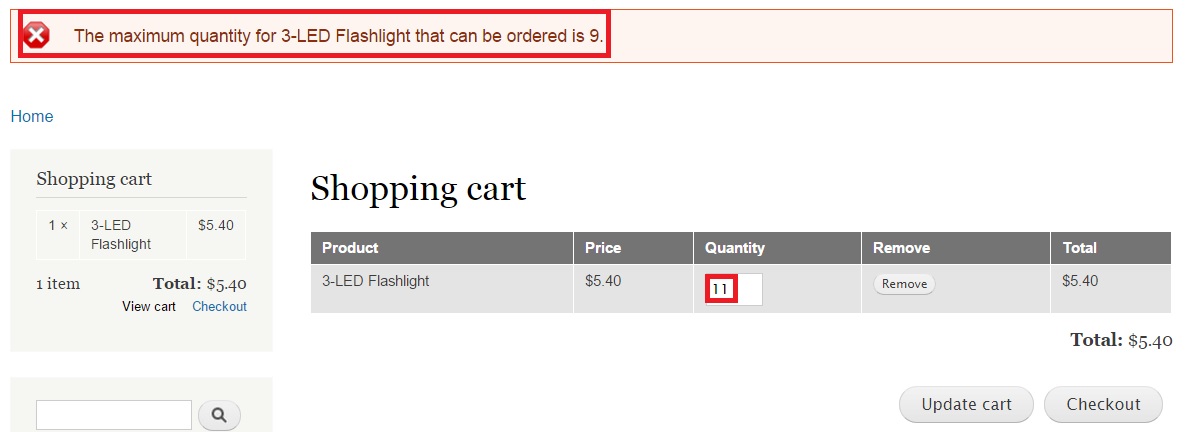
Here is a screenshot of what we seek to achieve through this article:

Notice the warning on top telling the user that he can purchase only a maximum of 9 flashlights. Let’s get started to achieve this functionality.
Visit https://www.drupal.org/project/commerce_stock to install and unzip the Commerce Stock to your Modules folder.
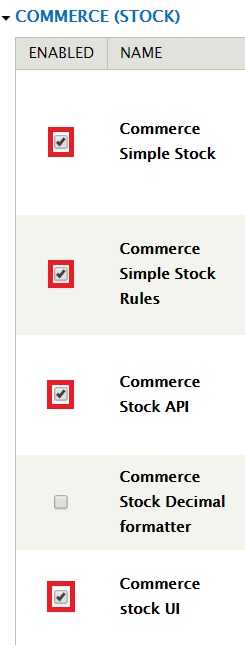
In the back-end, search for and enable the following modules as shown in the screenshot below:
- Commerce Simple Stock
- Commerce Simple Stock Rules
- Commerce Stock API
- Commerce stock UI
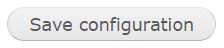
Click “Save configuration”:
Let’s explore the updates that have taken in place in the store after these modules were enabled. Click “Store”:

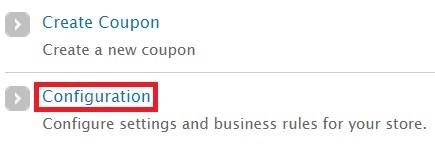
Click “Configuration”:
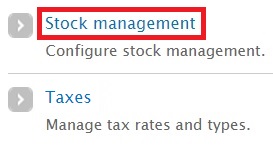
In the next page, click the newly created link “Stock management”:
In the new page, you will notice 4 tabs on the top-right:

Click "SIMPLE STOCK MANAGEMENT".
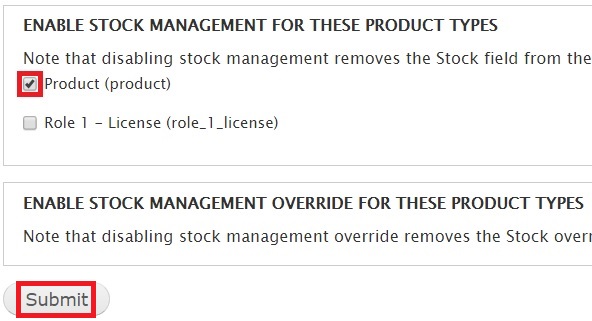
Under "ENABLE STOCK MANAGEMENT FOR THESE PRODUCT TYPES", tick the box against "Product (product)". Click “Submit”. This step will activate the stock functionality for all the products in your inventory:
You will receive the following message. This indicates that all products in your inventory are now set to zero. Buyers won’t be able to purchase them unless you assign the quantity available for each product in the back-end:

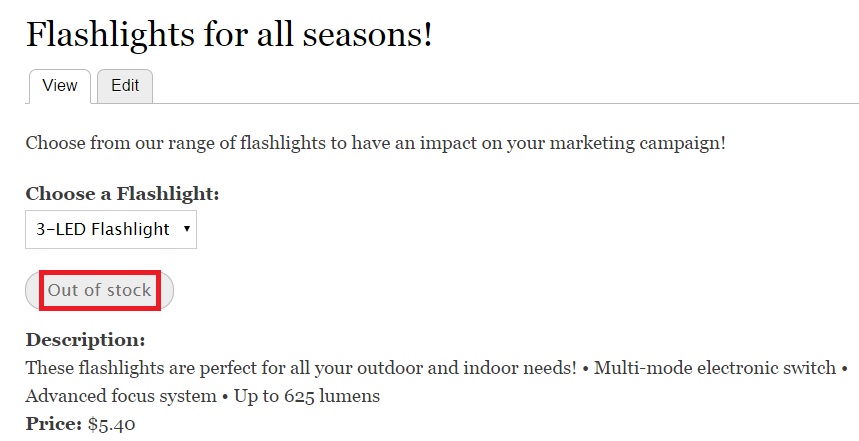
To demonstrate this, I will go to a product in my inventory. Notice the “Out of stock” button below that prevents me from adding the product to the cart:
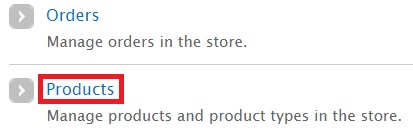
Let’s now assign a quantity in the back-end for this product, the 3-LED Flashlight. Click “Store” -> “Products”:
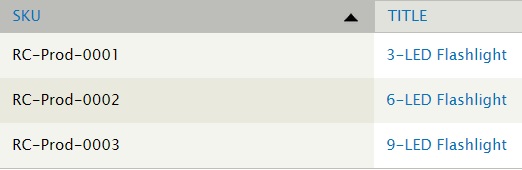
These are the 3 products in my inventory:
Click "Edit" on the right for 3-LED Flashlight. You will get the following screen. Specify a value for the "Stock" field. I am typing in “20”, which means buyers can purchase a maximum of 20 flashlights from my store:
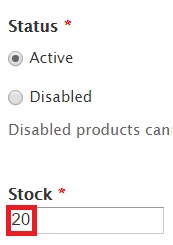
Click “Save product” at the bottom of the page:
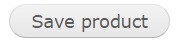
I am going to make a purchase of eleven 3-LED Flashlights from my store. Click “Checkout” and complete the purchase by filling in your shipping details:
You have now purchased 11 3-LED Flashlights out of a possible 20. Let’s now visit the back-end to confirm this.
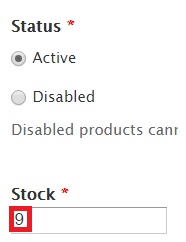
Click “Store” -> “Product” and access the fields for 3-LED Flashlight. You will notice that the “Stock” field has been updated. I earlier typed in 20 as the quantity. It now displays 9 as the quantity after deducting 11 from your purchase:
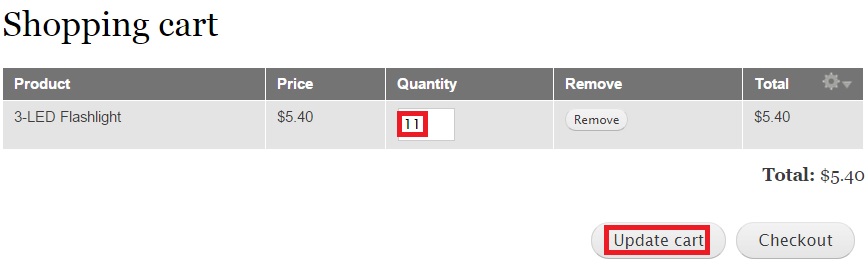
Let’s now make one more purchase. As you can see here, I am trying to purchase 11 more of these flashlights when I know there are only 9 available. Click “Update cart”:
As seen in the screenshot below, my Drupal Commerce store prevents me from purchasing anything above a quantity of 9.
We have now gone through the basic configuration required to set up inventory management for your store.
Next article: Adding a Shopping Cart

Neerav Mehta
Founder & CEO
Neerav Mehta is the Founder & CEO of Red Crackle. With sterling qualities, Neerav’s technological acumen is firing a generation of progressive companies on the digital path. With an undergraduate degree in Electrical Engineering from India's most prestigious institution IIT Bombay and having spent seven years developing and contributing to the launch of AMD's innovative line of computer products, Neerav founded Red Crackle where he is lauded for his dynamic and innovative genius.


Let’s get you started!