<
Adding multiple SKUs of a product
Neerav Mehta
Founder & CEO
This is tutorial #2 in the Drupal Commerce tutorial series. In the previous article, we showed you how to add a basic product along with a display to showcase that product in the front end. This article makes product addition and management smoother by using the Inline Entity Form module.
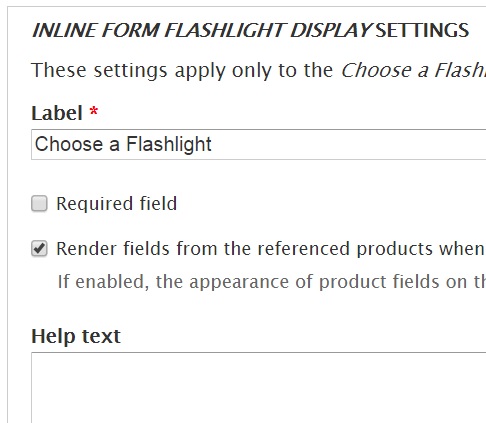
By the end of this article, you will be able to present users with the ability to choose from multiple products in a dropdown as shown in the screenshot below. What we have done here is create an exclusive custom content type "Inline Form Flashlight Display" and associated a new field "Choose a Flashlight" with it. This field will support the functionality associated with the Inline Entity Form module.

The benefit of this module is that it conveniently allows us to add more than one product to a display. You can easily Add/Delete/Edit multiple products from one page itself by clicking "Add content" of the newly created content type.
To get started, you will have to download, unzip and enable the Inline Entity Form module. Go to www.drupal.org/project/inline_entity_form to access the latest tar.gz file.
Let’s get started by enabling the newly downloaded module. Click “Modules” on the top-level menu.

Search for “Inline Entity Form”. Enable this module.

Click “Save configuration” at the bottom of the page.
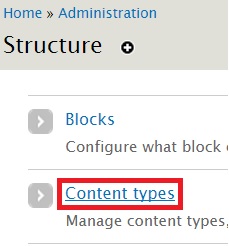
You will have to create a new content type that can satisfy the module requirements of “Inline Entity Form”. Go to "Structure" -> "Content types".
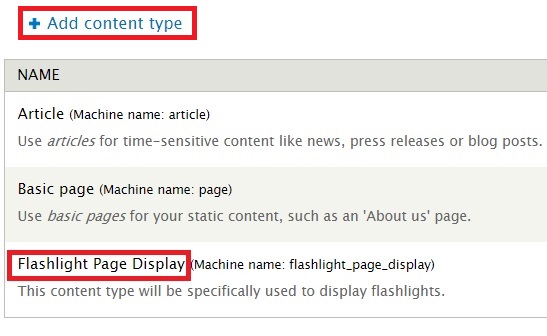
Notice the content type “Flashlight Page Display” that was created for the earlier article. Let’s create an entirely new content type. Click "Add content type".
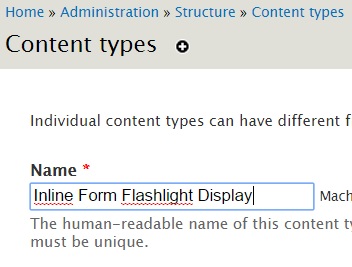
I have entered “Inline Form Flashlight Display” as the title for the new content type. The Description field has been left blank.
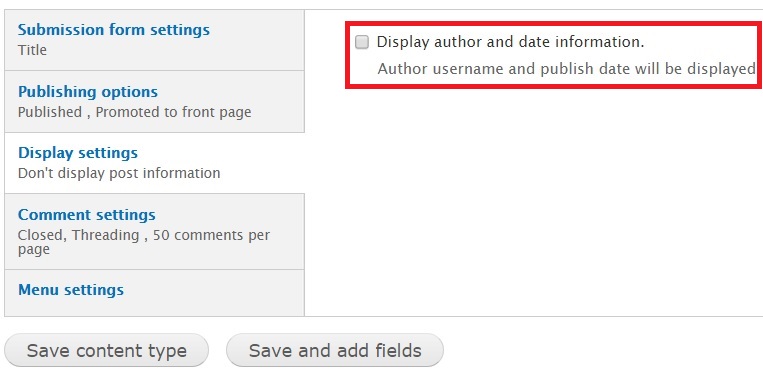
As mentioned in the earlier article, click on Display settings and disable the checkbox against “Display author and date information”. This will ensure that it doesn’t appear like a blog post.
Similarly, go to Comment settings and select “Closed” from the dropdown for “Default comment setting for new content”.
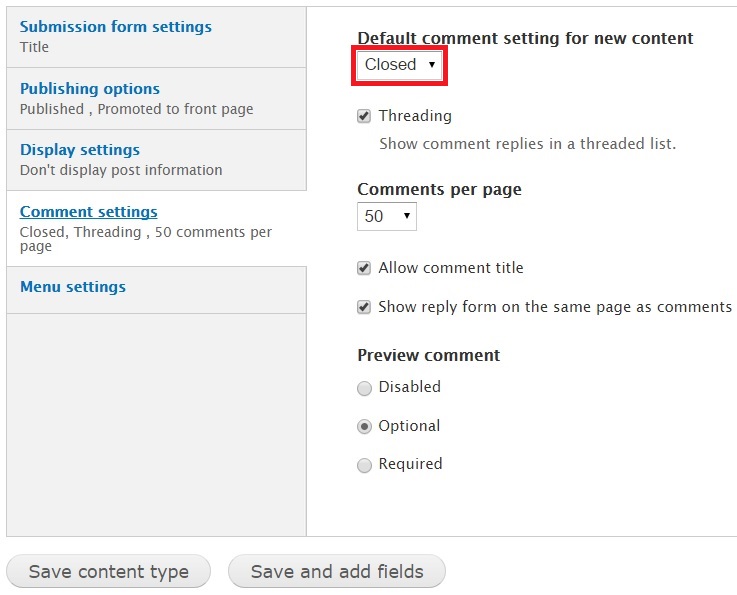
Click “Save and add fields”.
Create a new field here. In the earlier article, we had created a Product field to manage the display. I am typing in "Choose a Flashlight" under Add new field. Under FIELD TYPE, select “Product reference” from the dropdown. Under WIDGET, select “Inline entity form - multiple values”. This value gets enabled on your machine after the Inline Entity Form is enabled.

Choosing “Inline entity form - multiple values” will ensure that more than one product is displayed via the entity form on the product display page.
Click Save at the bottom of the page. A new page appears. Click Save field settings.
Your field has been added.
Go further below on this page to configure further. Tick the box against “Product” under Product types that can be referenced. Also, tick the box against Allow users to add existing products. This will allow you to add an existing product(s) to the page display.
Select “Starts with” under Autocomplete matching and tick the boxes for all the remaining fields except for Auto generate the product title.
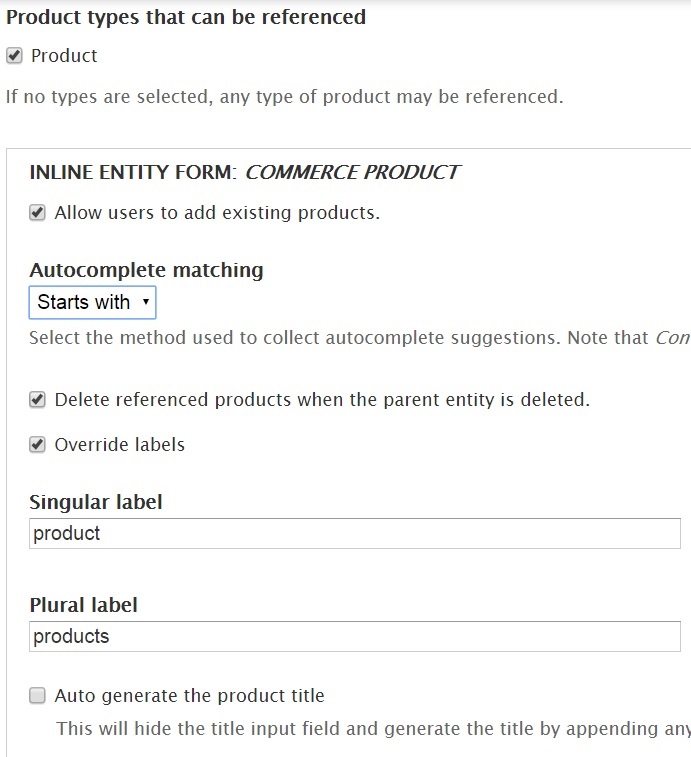
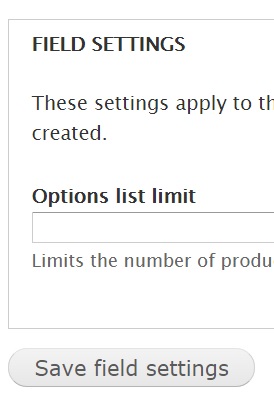
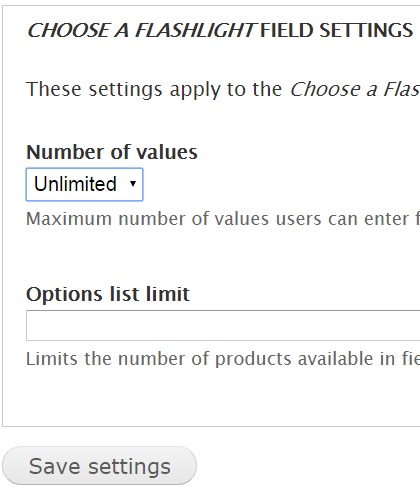
Go further below and select “Unlimited” under the field for Number of values. Leave the Options List Limit blank to ensure there is no limit to products called. Click Save settings.
The content type and field has now been successfully added.
Let’s now create a page display using this new content type. Click Add Content. Click Inline Form Flashlight Display.

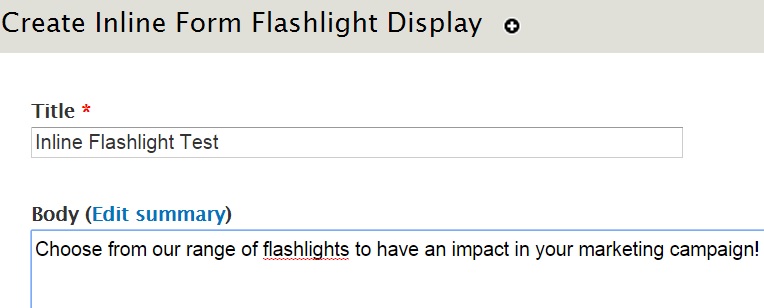
Provide a title for your display. Enter a description only if you want to. I have used “Flashlights for all seasons”. I have entered a description as well – “Choose from our range of flashlights to have an impact on your marketing campaign”.
Go further below and you will see how the Inline Form functionality has been implemented for this display. You will be able to either add a new or existing product. Let's click Add existing product.
Type in the first few letters over here and your product will be autocompleted for you.
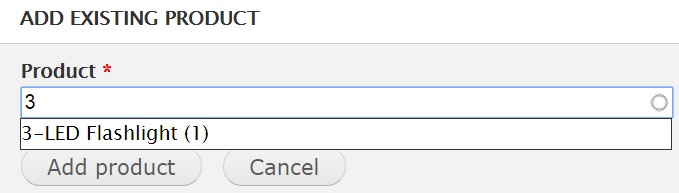
Click Add product. The page will be updated as shown below.

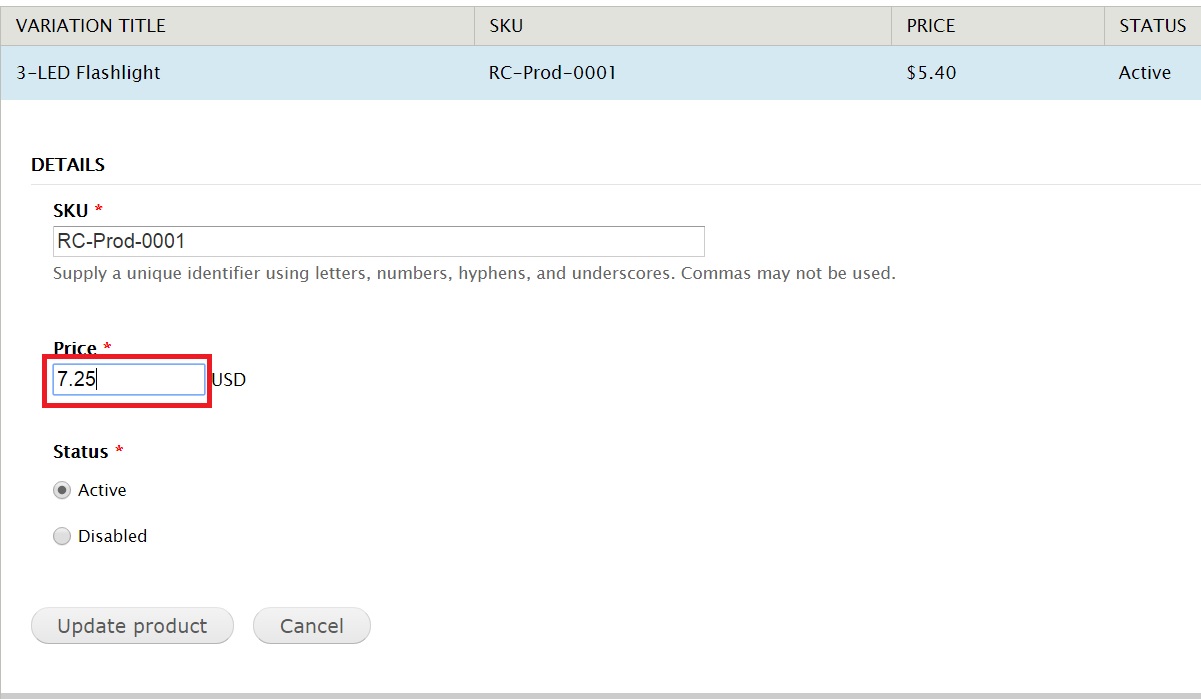
Click Edit under OPERATIONS and you will be able to update the product you just added on this page display itself! The level of convenience offered by the Inline Entity Form module is immense. I am going to alter the price, increasing it from $5.40 to $7.25. Click Update product.
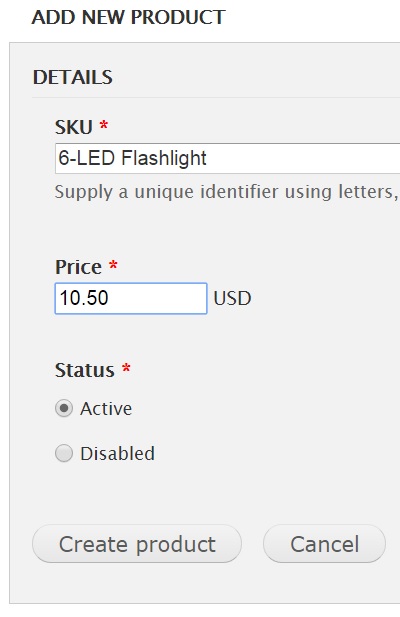
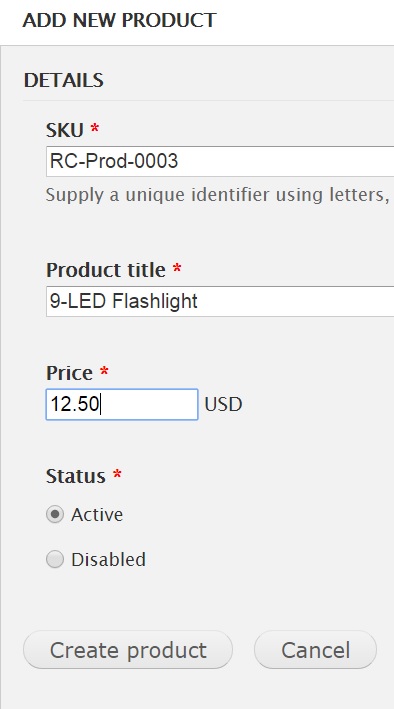
The product has now been updated. Let’s click Add new product. Fill in a unique SKU value and price. Notice how a new product has been updated from the display page itself. Click Create product.
We are adding another new product.
Here is a summary of the products associated with this display:
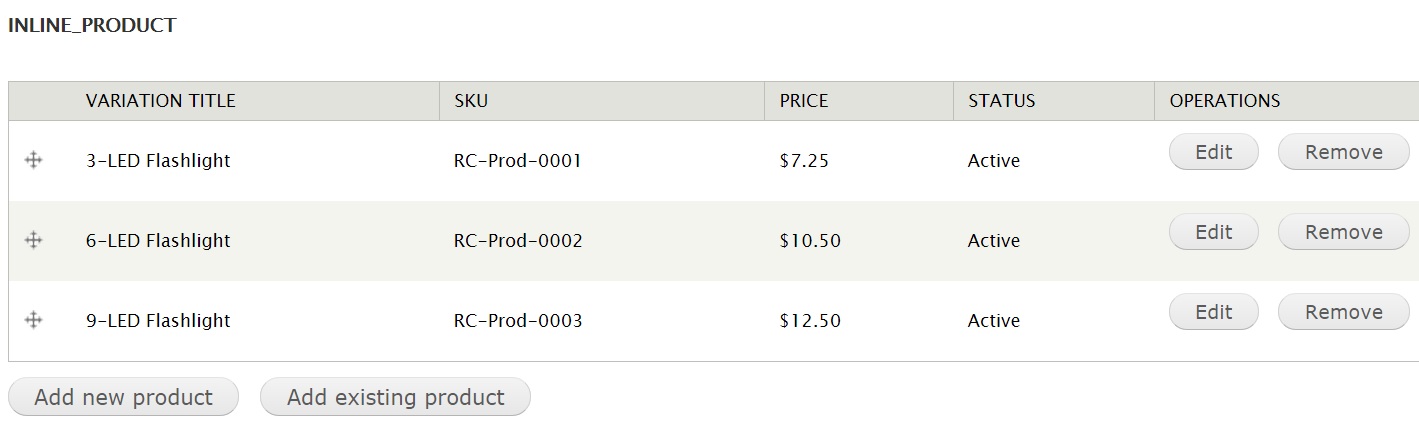
Click Save.
The new product display will look as shown below. Notice how multiple products are being called from a dropdown. Inline functionality can be tweaked to help online store customers differentiate products based on attributes such as pricing, brand or color. With this article, you now have basic knowledge on how to use Inline Entity Form to manage products on a page.

Next: Adding fields and metadata to the product

Neerav Mehta
Founder & CEO
Neerav Mehta is the Founder & CEO of Red Crackle. With sterling qualities, Neerav’s technological acumen is firing a generation of progressive companies on the digital path. With an undergraduate degree in Electrical Engineering from India's most prestigious institution IIT Bombay and having spent seven years developing and contributing to the launch of AMD's innovative line of computer products, Neerav founded Red Crackle where he is lauded for his dynamic and innovative genius.


Let’s get you started!