

<
Accepting Credit Card Payment via Authorize.net
Neerav Mehta
Founder & CEO
This is tutorial #8 in the Drupal Commerce tutorial series. In the previous article, you learned how to enable Express Checkout on your Drupal Commerce site.
In this article, you will learn about how to accept credit card payments using Authorize.net. Authorize.net is a hugely popular gateway service provider that allows you to accept credit card payments from buyers online.
By the time you are done with this article, you would have configured gateway settings as shown below:
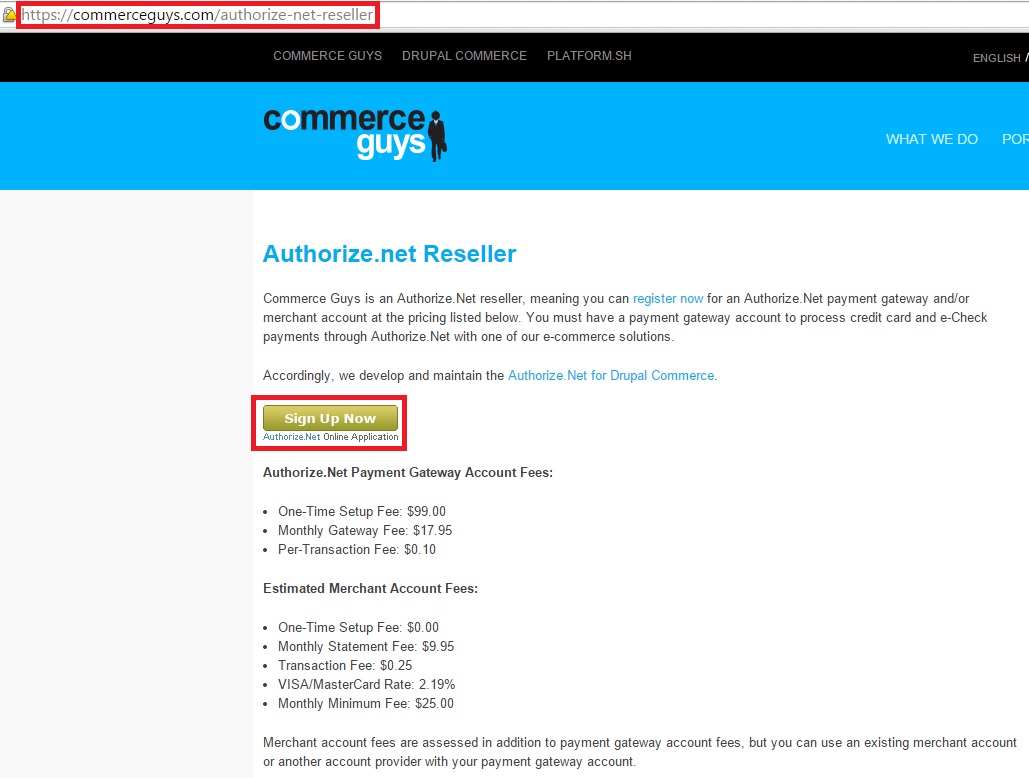
Before we proceed further, make sure you have an Authorize.Net account. You can create a paid account by visiting commerceguys.com/authorize-net-reseller:
To get started, go to https://www.drupal.org/project/commerce_authnet to download and unzip the Commerce Authorize.Net module on your machine.
Go to “Admin” -> “Modules” and search for Authorize.net. Enable it as shown below.

Click "Save configuration" at the bottom of the page.

Let's configure the Payment settings now. Click “Store” on the top-level menu:

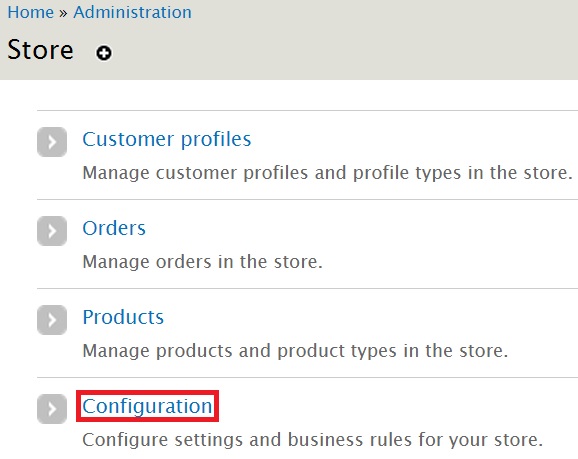
Click “Configuration” in the new page:
Click “Payment methods” in the new page:
You will find 2 tables that feature payment method rules. The first table is titled "Enabled payment method rules". The second one is titled "Disabled payment method rules". Let's focus on the disabled table.
The enabling of the module has introduced a new entity in the disabled payment rules table. It is called "Authorize.Net AIM - Credit Card". Click “edit” to customize your payment options

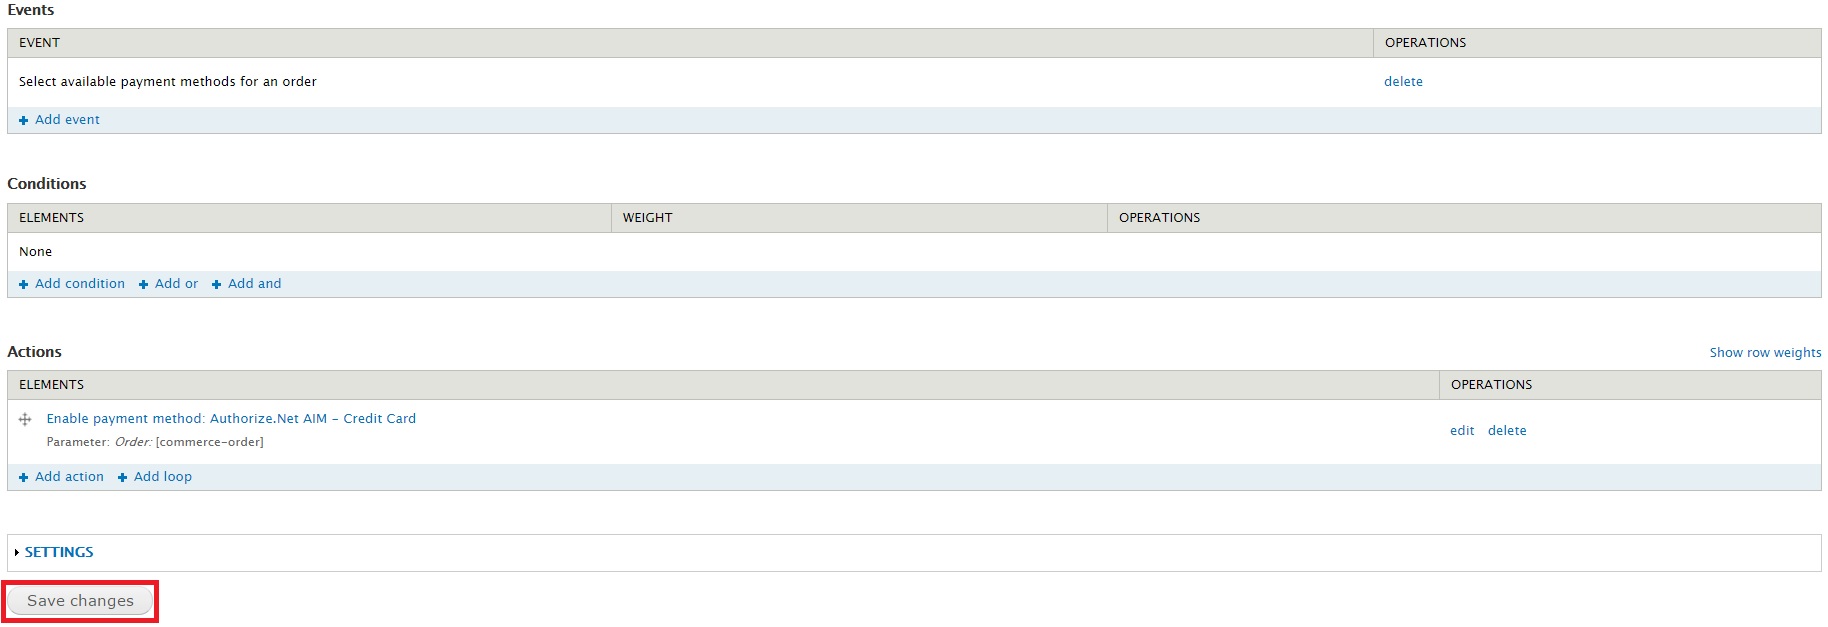
The new page provides you with 3 configurable items for your payment method – Events, Conditions and Actions. You will notice that Enable payment method: Authorize.Net AIM - Credit Card is now visible under Actions. Click “edit” on the far right:
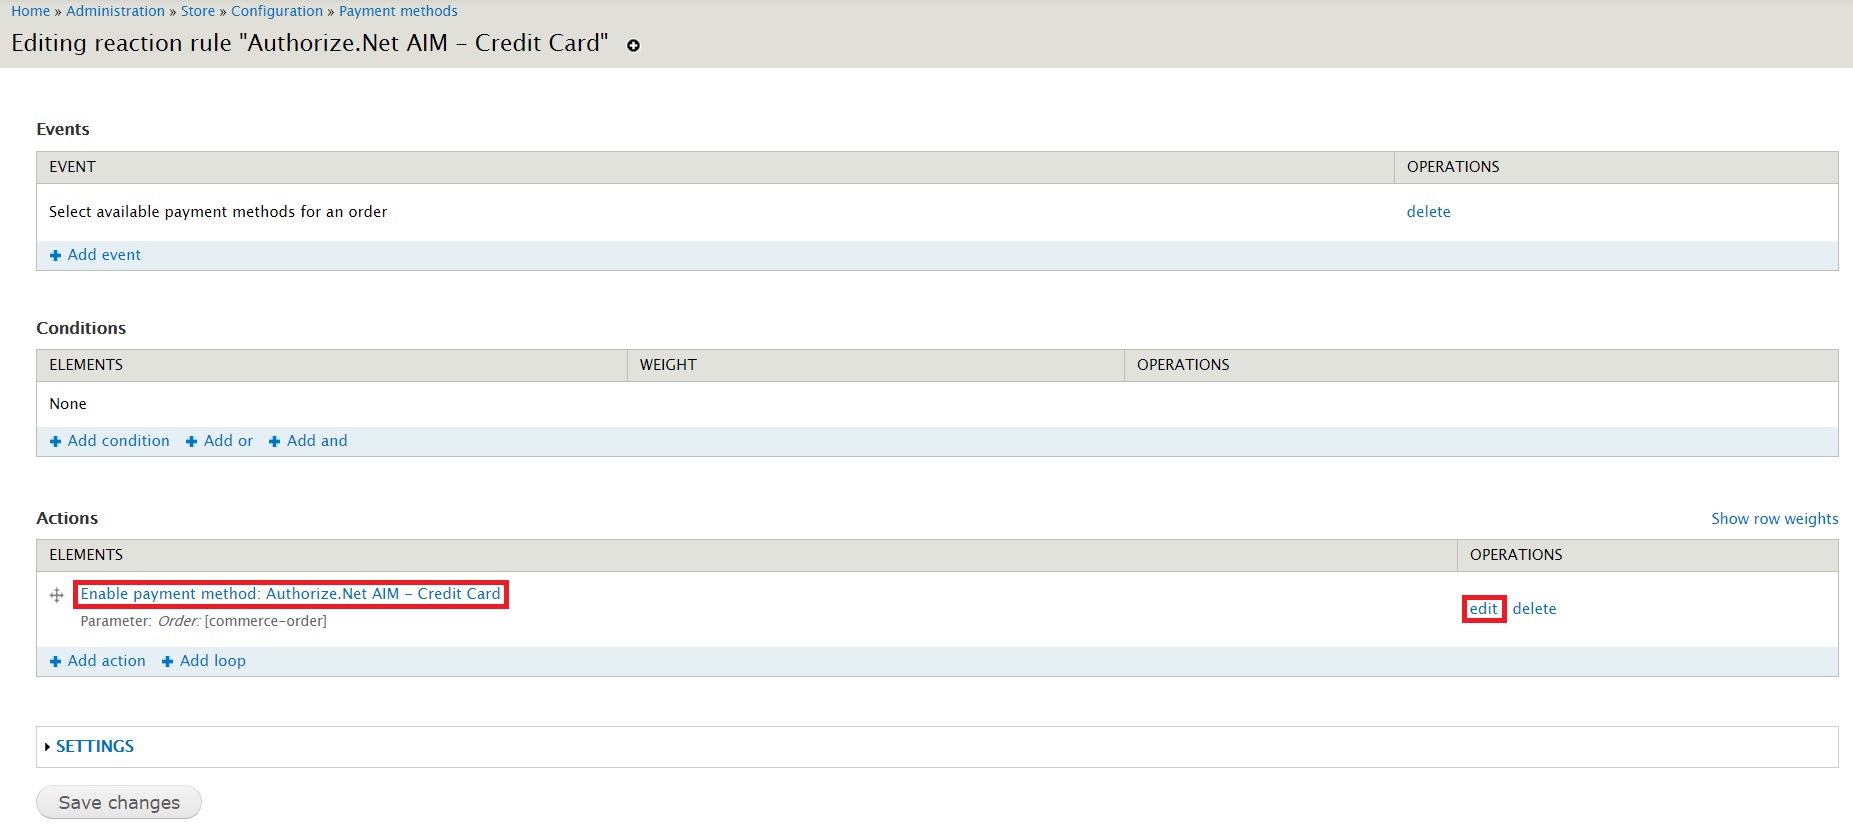
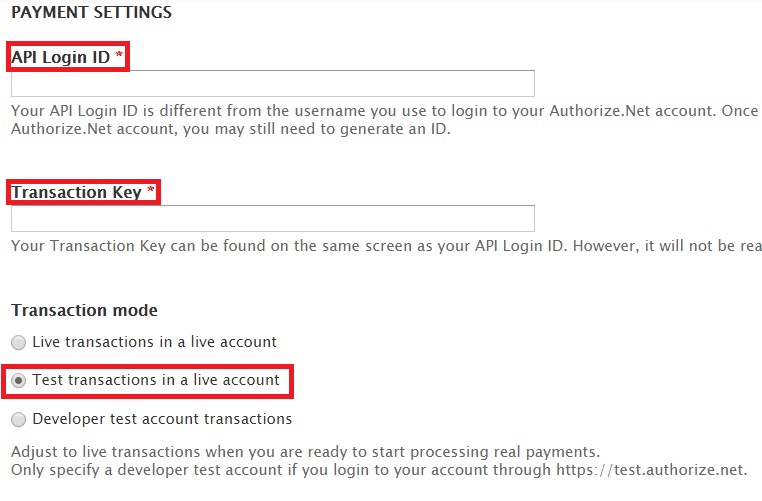
In this page, under Payment settings, you will find two fields that have to be populated. They are “API Login ID” and “Transaction Key”. The values for both these fields can be obtained after you create an Authorize.net account.
Under Transaction mode, make sure "Test transactions in a live account" is selected for testing purposes. You can change this to "Live transaction in a live account" when your site is finally ready to accept actual transactions. These fields are mandatory. Refer the screenshot below for more details:
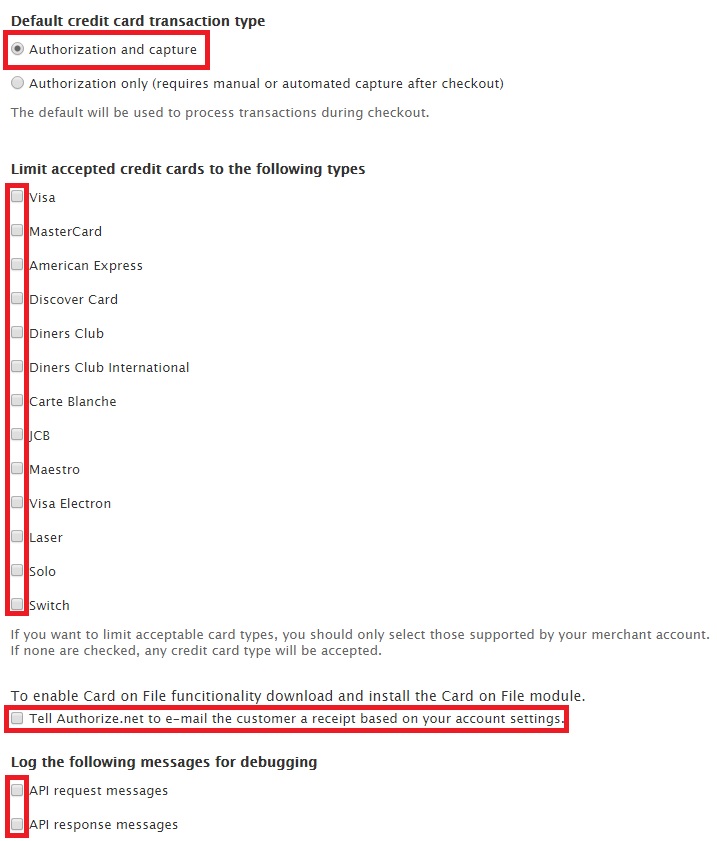
On the same page, you will come across "Default credit card transaction type", which specifies the authorization type to be used.
These are the 2 fields under this section:
- Authorization and capture: Verifies the amount due and submits for payment.
- Authorization only: Verifies the amount due but doesn't submit for payment. This option is ideal that cannot accept payment unless the product is shipped.
The "Limit accepted credit cards to the following types" section allows you to specify the type of credit cards accepted by your site. Leaving this section blank will ensure your site accepts all kinds of credit cards.
The "Tell Authorize.net to e-mail the customer a receipt based on your account settings" field isn’t required because Drupal Commerce sends its own receipt and confirmation email to the customer once the order is successfully placed.
And finally, you will come across the log settings. Tick against the boxes for "API request messages" and "API response messages" to enable logging of Payment reports for your site.
Click “Save” at the bottom of the page.
You will get the following page. Click “Save Changes”:
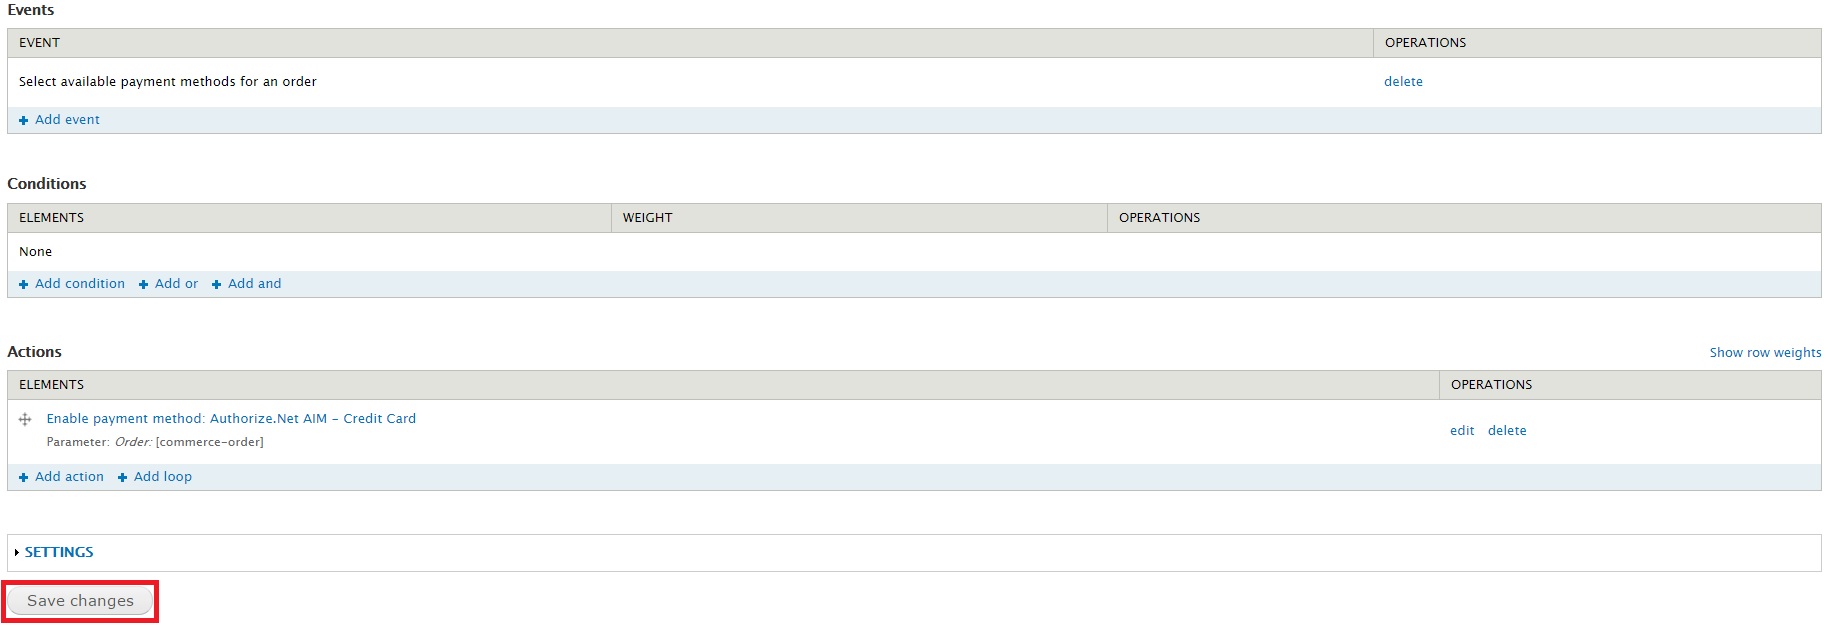
You have now enabled Authorize.Net for your website.
Next: Configuring PayPal

Neerav Mehta
Founder & CEO
Neerav Mehta is the Founder & CEO of Red Crackle. With sterling qualities, Neerav’s technological acumen is firing a generation of progressive companies on the digital path. With an undergraduate degree in Electrical Engineering from India's most prestigious institution IIT Bombay and having spent seven years developing and contributing to the launch of AMD's innovative line of computer products, Neerav founded Red Crackle where he is lauded for his dynamic and innovative genius.



Let’s get you started!