

<
Adding A Drupal Commerce Product And Product Display
Neerav Mehta
Founder & CEO
This article is the first in a tutorial series that teaches beginners how to configure a Drupal Commerce site. Follow this series to gain a basic understanding on how to build online stores of your choice. If you would like to see the full list of articles in this series, go to Drupal Commerce Tutorial page.
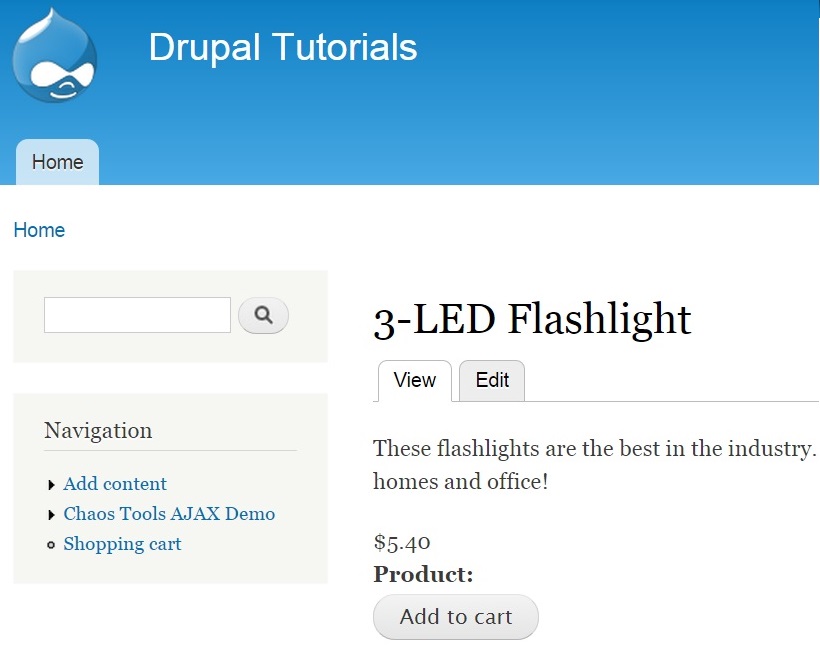
The focus of this article is on installing Drupal Commerce on an existing Drupal installation and then adding a product and displaying it on the site. By the end of this article, you will be able to create a basic product page in Drupal with an “Add to cart” button as shown below:
Getting Started
There are two ways to install Drupal Commerce:
- Manual method: You will have to individually download, install and enable modules from drupal.org. This gives you a level of control over the look and feel of your basic e-commerce site.
- Commerce Kickstart method: Commerce Kickstart is an independent Drupal installation profile that can quickly set up e-commerce functionality on your machine. It comes with a core and all modules required to make e-commerce a success for your site.
While Commerce kickstart in an excellent distribution if you need all the features provided without much customization, manual method is better if you want to customize the store to your needs. We are going to use the manual method in this series of tutorials.
Installation
Here are the modules you should install on your machine:
You will have to download the necessary files to your site’s modules folder. First, make sure you install all the secondary modules before installing Drupal Commerce. You could use Drush, the Drupal UI or any command line tool to perform installation.
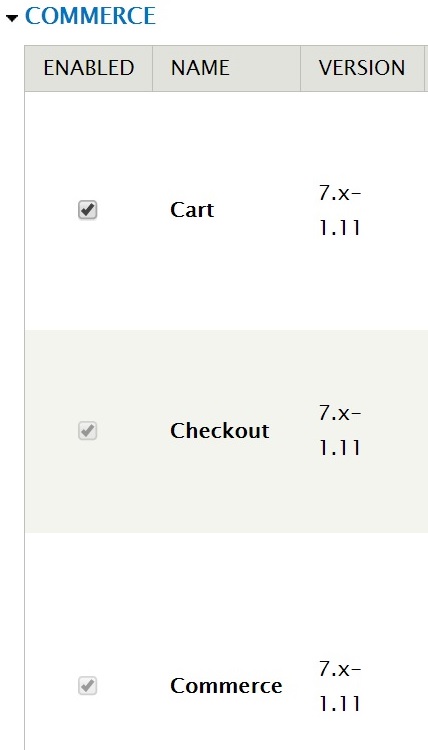
After downloading, go to the Administration panel and enable all newly downloaded modules. Here is a snapshot of me enabling the Commerce module:
After you have enabled all necessary modules, you will notice a change in the top-level menu. A new link has been added – “Store”.

Clicking “Store” will reveal a page as shown below:
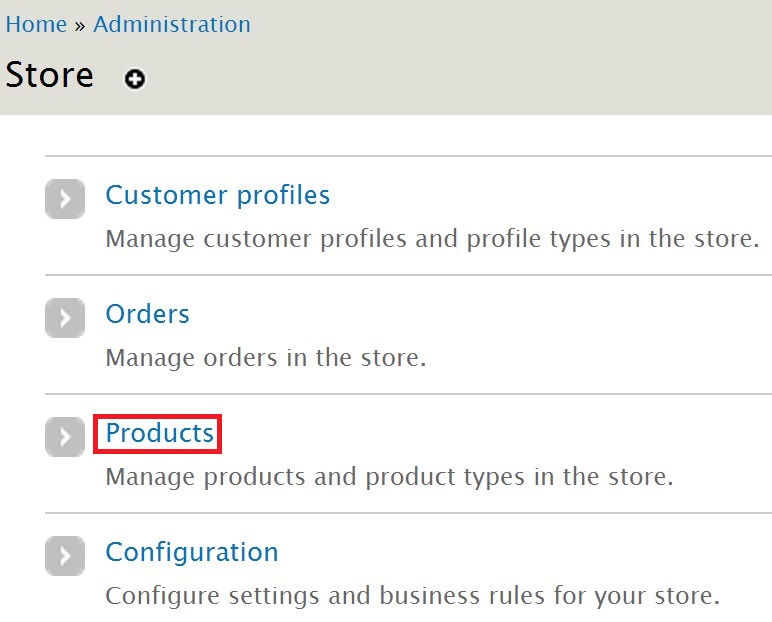
This is where your store's configuration and administration will take place.
Adding A Product
We now have a basic online store in place. Let’s start by adding a product to this store. Clicking on “Products” in the window above will reveal a new page:
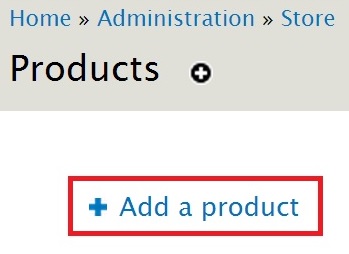
Click “Add a product” to get the following screen:
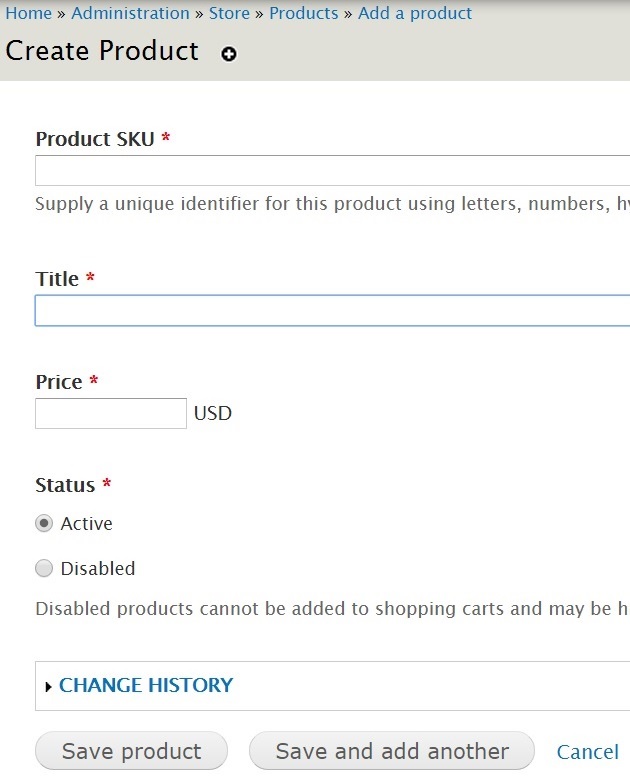
Here are the fields you will have to fill:
Product SKU: It would be great if you follow a particular nomenclature while assigning this field. To demonstrate, I have chosen RC-Prod-0001. All values should be unique to allow for successful database searches.
Title: Type in your product's name. I have chosen 3-LED Flashlight.
Price: Provide the exact price of your product. I have given a random price – $5.40.
Status: Specify whether the product is active or disabled.
CHANGE HISTORY: This optional field allows you to provide details on every update made to the product.
Click “Save Product” to save the product’s details. The product will then be successfully added and will be displayed as shown below:

Understanding How Content Is Viewed In The Drupal Commerce module
There is a big difference between content created in Drupal in general and those created through the Drupal Commerce module. All recent content added through Drupal core can be viewed in the Content tab. This is because each content type represents a node. This is not the case with Drupal Commerce module.
For example, a new product created by you won't show up in Drupal's interface unless you specify a Product Display. For this, you will have to create a brand-new content type.
The steps below will explain how to make sure your products are displayed in the front-end through a Product Display, which is basically a node.
Setting Up Product Display
Let’s first create a new content type that can represent product display.
Click “Structure” -> “Content types”:
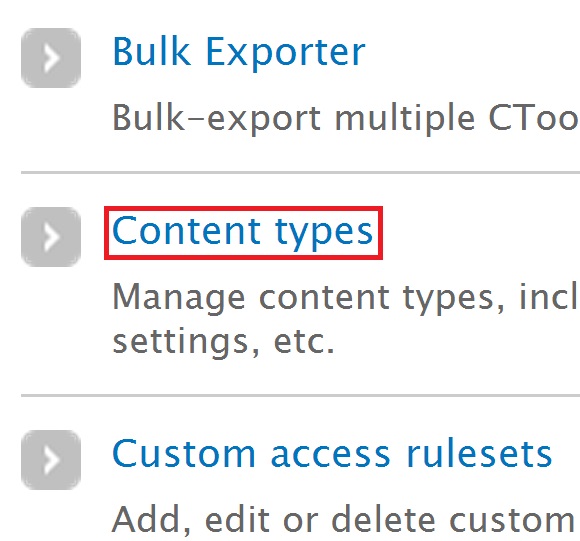
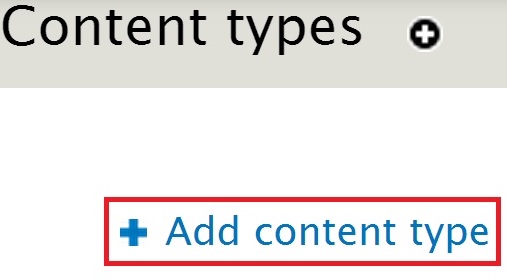
Click “Add content type”:
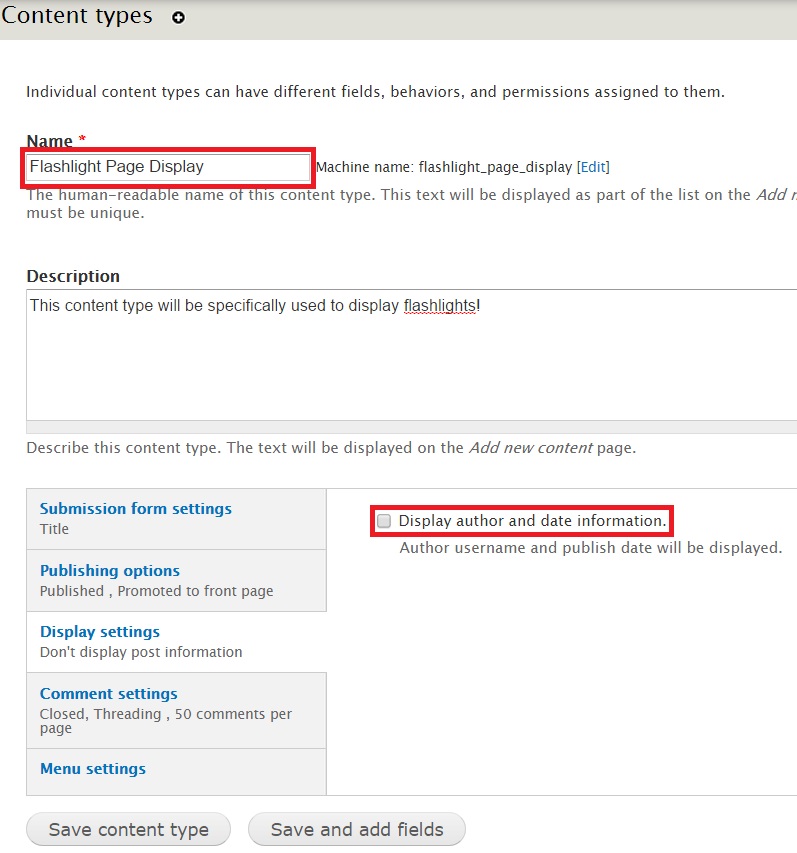
The screen below is where you will be able to add a new content type. I have chosen “Flashlight Page Display” as the title because I want the display to be associated with the Flashlight product created above. Type in a description if you want to.
You can use this new content type as a page display for multiple products uploaded in the future.
Click “Display settings” and uncheck the box against “Display author and date information”.
After this, click “Comment settings” and select “Closed” from the dropdown for “Default comment setting for new content”.
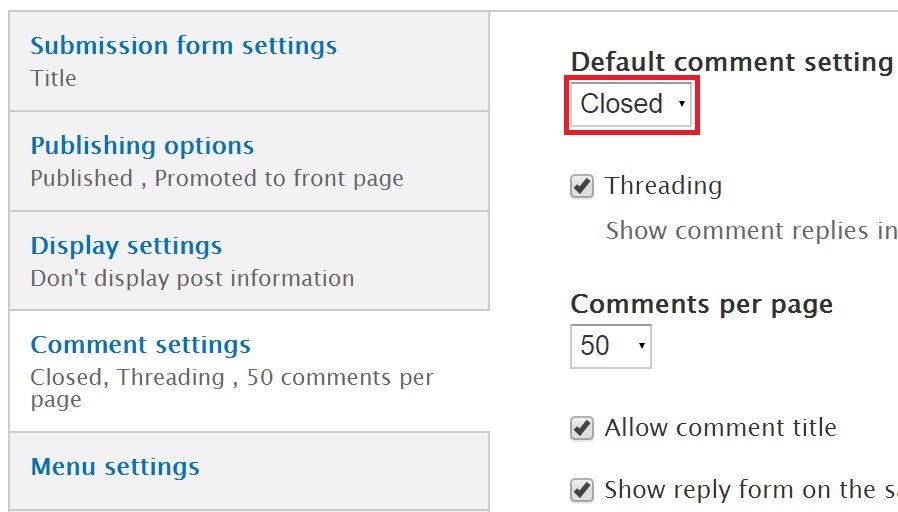
The reason why we made these changes to “Display settings” and “Comment settings” is because a Product’s display page is not like any ordinary content page. Ideally, most product pages don’t have comments or author information displayed. But if you want users to add reviews to your page, then don’t make any changes to “Comment settings”.
Let’s click “Save and add fields” to associate the product with this display. Fill in the following:
- Add new field: Type in Product
- FIELD TYPE: Choose Product Reference to signify the type of product to store
- WIDGET: Select Autocomplete text field from dropdown to ensure the product’s name can be searched and found.
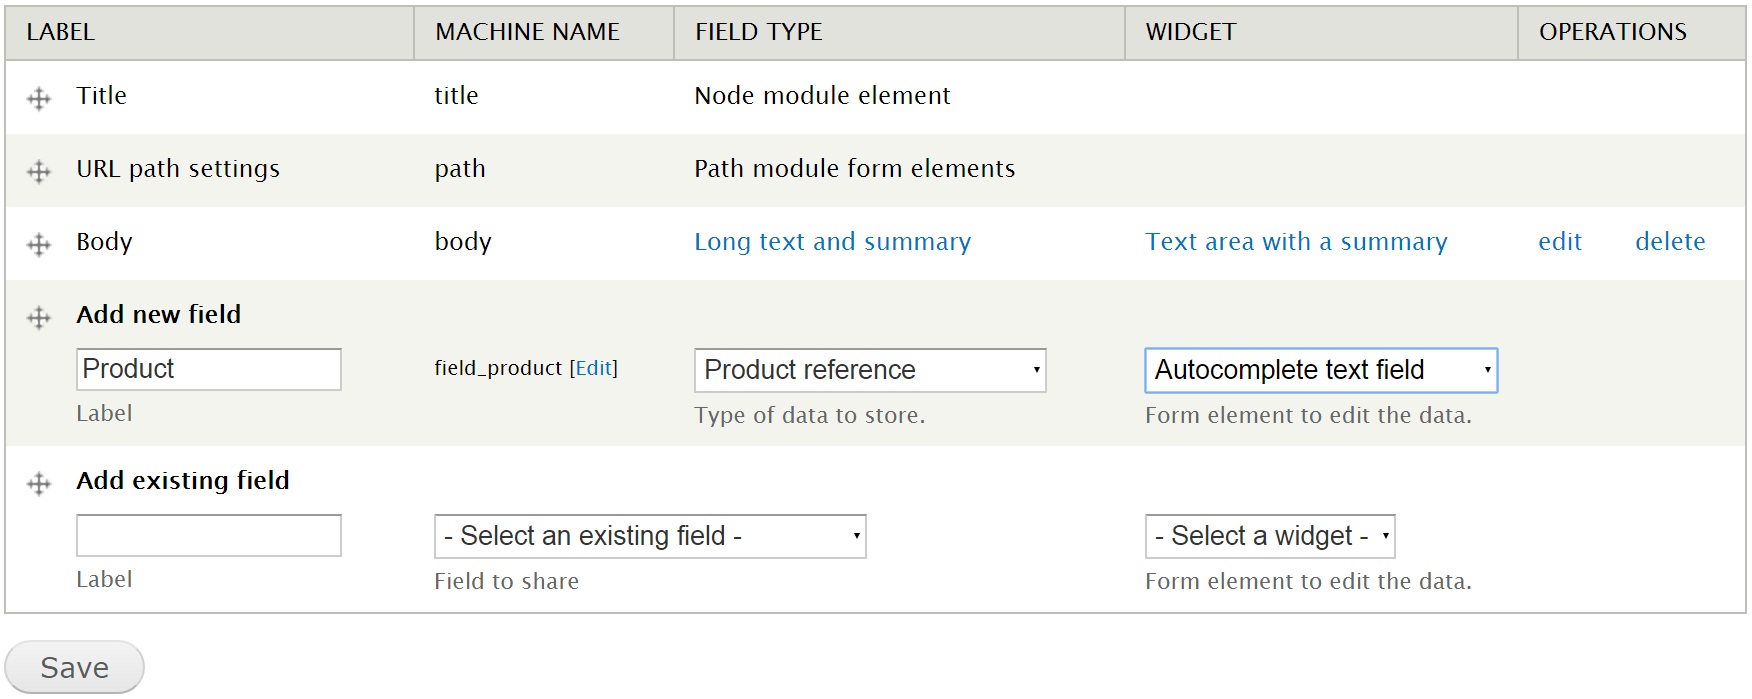
Click “Save”. The following page is displayed.
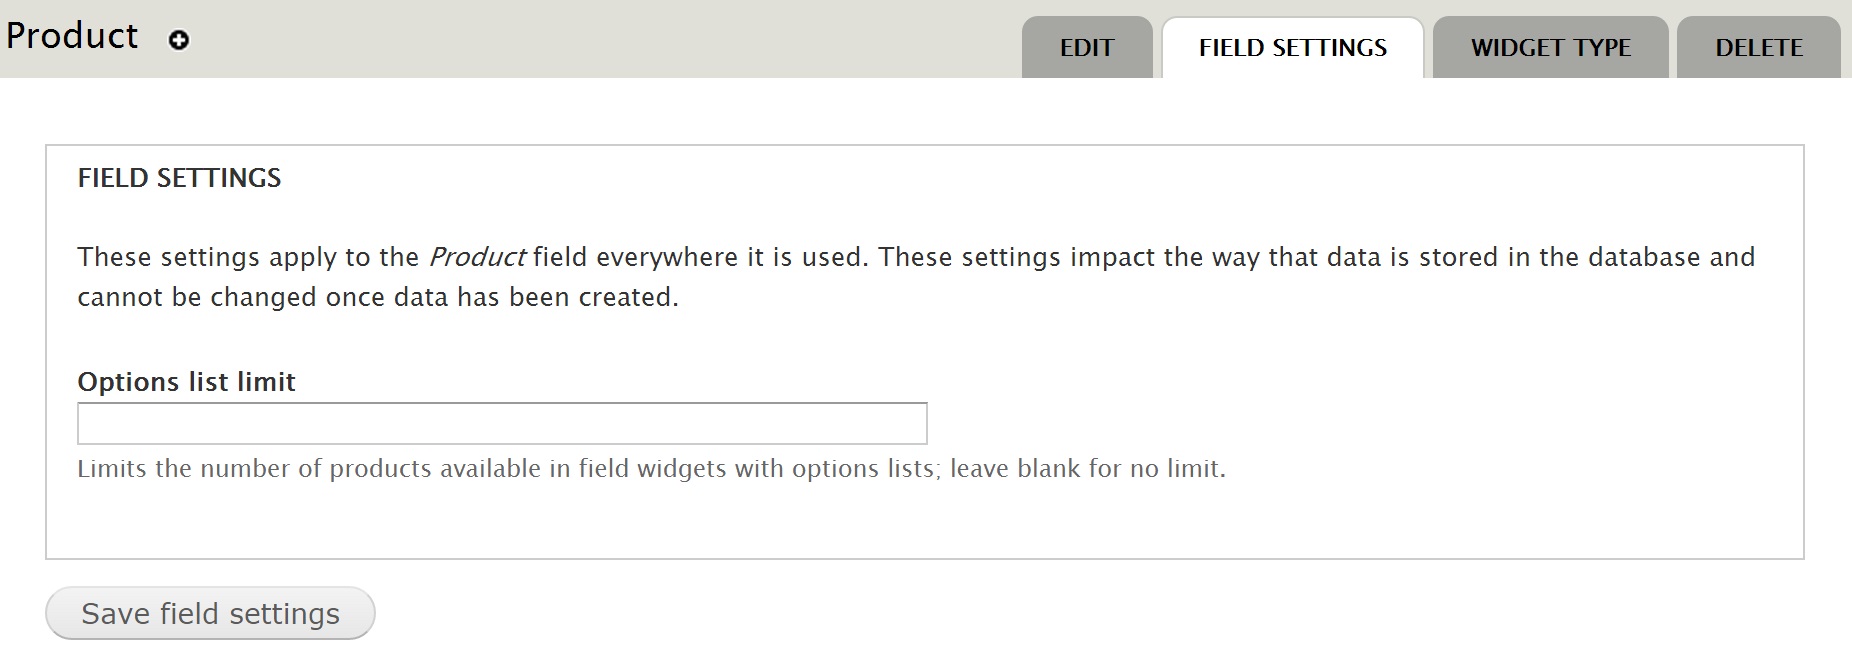
You don’t have to do anything on this page for now. Just click “Save field settings”. The following page is displayed:
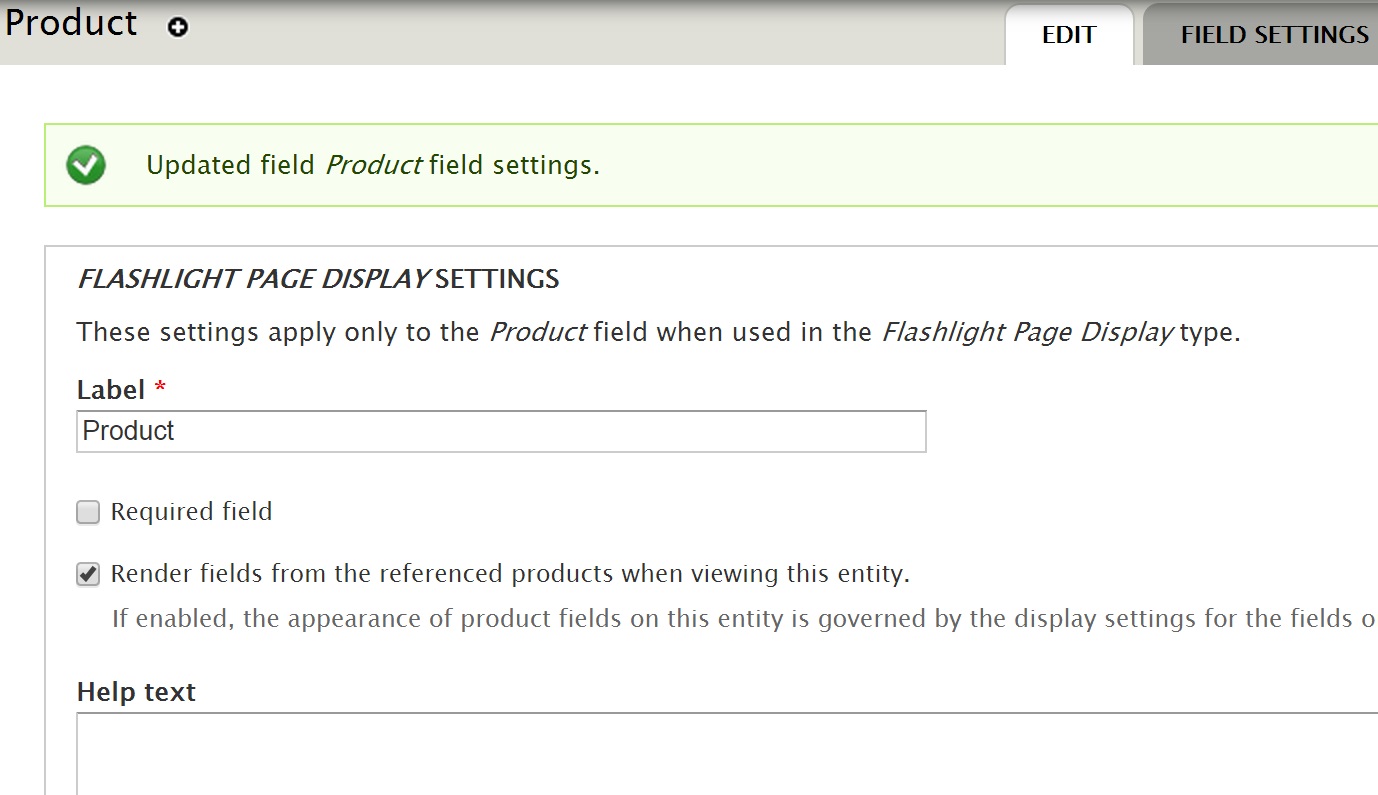
Your product field has been added. Click “Save” at the bottom of the page.
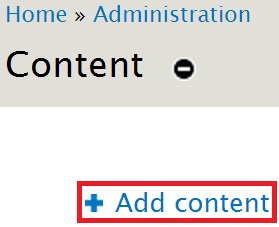
Go to “Content” and click “Add content”:
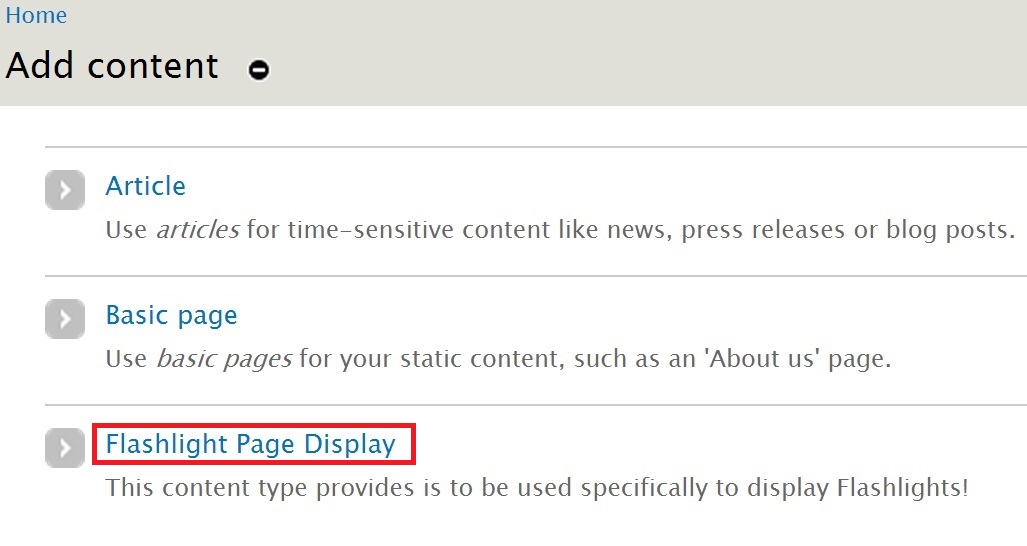
You will be taken the following page. Notice that “Flashlight Page Display” is now featured as a content type. Click it to create a product display for your product:
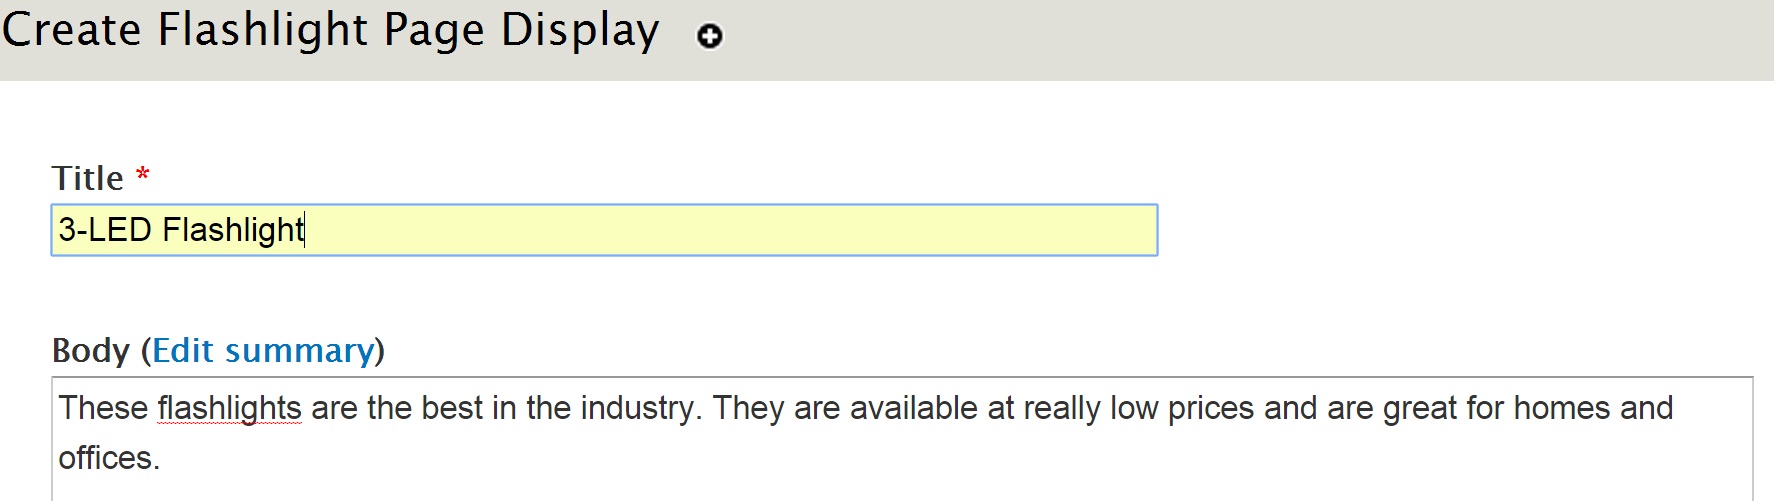
Fill in the following fields in the new page:
- Title: Type in the title of the product you want highlighted on the page.
- Body: Provide a description if you want to.
- Product: This newly created field is the most important part of this page. Enter a few beginning letters/numbers of your product's SKU or name and the field will automatically display it in the format
- SKU: Product.
The Product field on this same page is as shown below:

Click “Save”. You will be taken to the newly created product page as shown below:
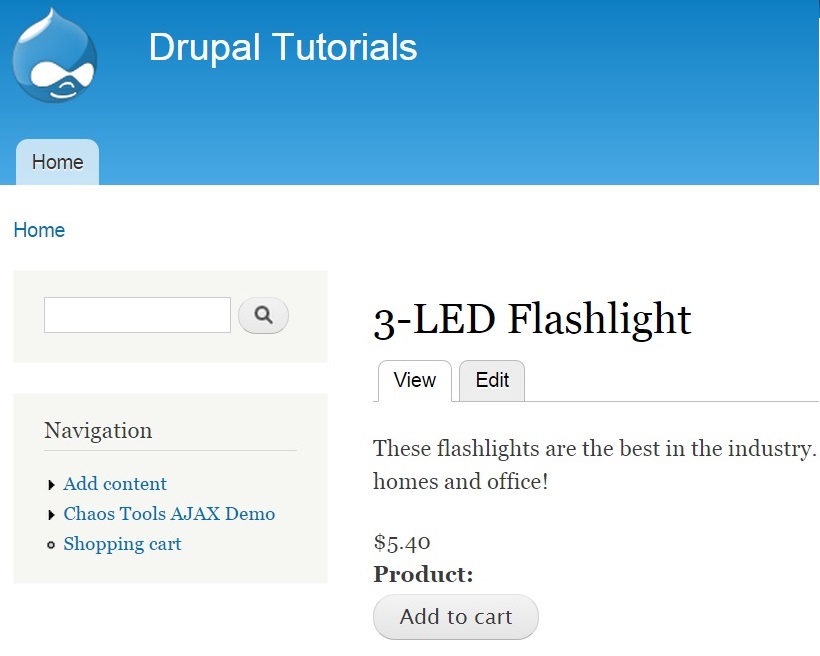
You have now successfully created a display page for your product. Notice the “Add to cart” button at the bottom. Since we used the “Product Reference” field in the “Manage Fields” page, Drupal Commerce knows that the node is displaying a product and “Add to cart” button is visible by default.
Next: Adding multiple SKUs of a product with different attributes and let user choose one to purchase

Neerav Mehta
Founder & CEO
Neerav Mehta is the Founder & CEO of Red Crackle. With sterling qualities, Neerav’s technological acumen is firing a generation of progressive companies on the digital path. With an undergraduate degree in Electrical Engineering from India's most prestigious institution IIT Bombay and having spent seven years developing and contributing to the launch of AMD's innovative line of computer products, Neerav founded Red Crackle where he is lauded for his dynamic and innovative genius.


Let’s get you started!